Hi, the first part was getting a bit long so here is the second part. Basically continuing with replacing suspension, body parts and general cleanup.
Another small job was fixing the stop lights as they were flashing once and then staying off. I believe the problem is the hydraulic stop light switch which is located on the lower frame behind the radiator. It's of course activated by the pressure of the brake fluid when the brake pedal is pushed. The thread size is 3/8" UNF. I've ordered one (plus spare) from CBS - UPDATE Received and installed the new switch and it works fine now.
While I'm waiting for a few parts I'm cleaning up the engine bay, cleaning the scuttle, replacing the rubber strips to support the bonnet etc.
A good way to remove old rubber strips that have been glued is to use silicon remover. In Sweden one can buy it from Biltema.
I buffed up the scuttle with fine wire wool, filled some unused holes with rubber stops, cleaned up the cabling around the air intake and replaced the air-filter.
Only the accelerator cable is too long as it's the standard BMW, but I don't have the right tools to shorten it.
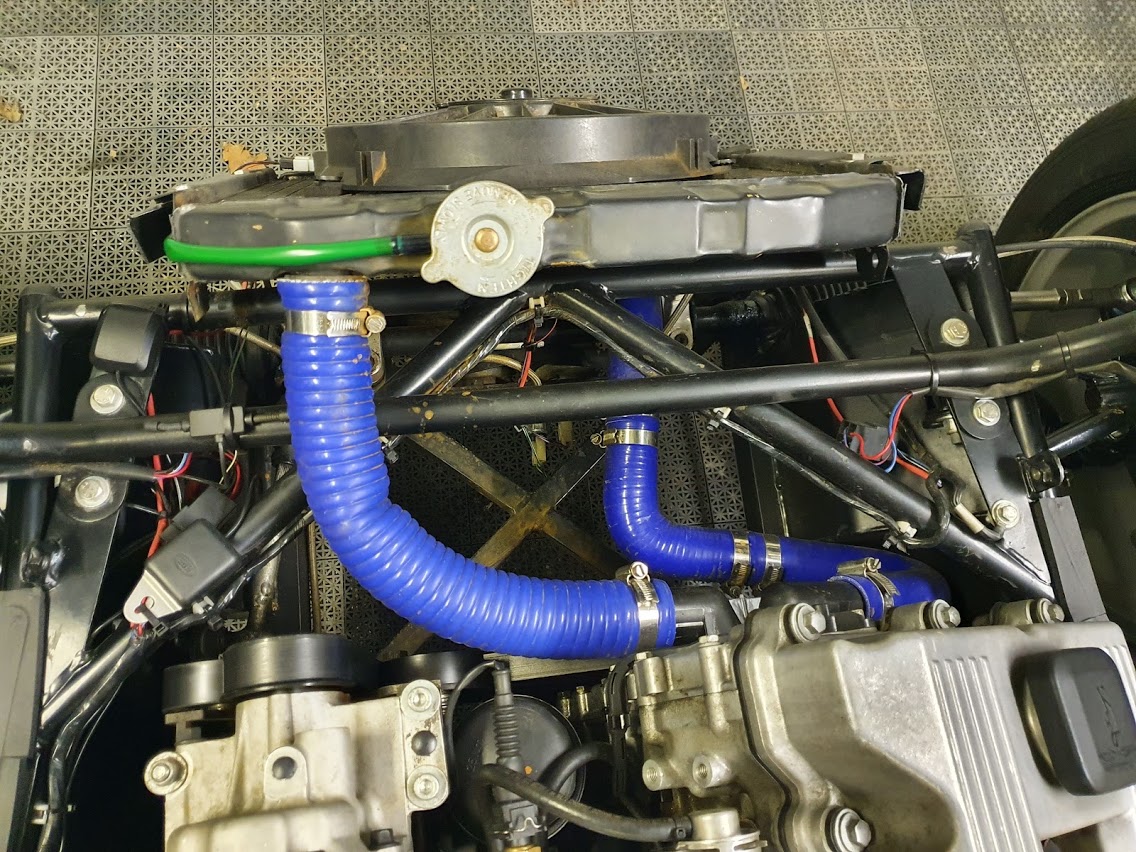
I've ordered a new aluminium radiator and fan as the current one is not very efficient at keeping the super charged engine cool.
Any slightly warm day leads to overheating.
Need something around the same dimensions.
Added the new damper and spring and the lower wishbone ball joint. I'm buying a couple of M18 nuts to lock the upper ball joint once it's adjusted correctly. Also the tie rod ball joints need new extensions which are on there way from UK.
Today I picked up the stainless steel wing guards, had them polished like new again! Now bolted back in place and one of the freshly repainted wheels in place. The rear of the car is almost complete.
Another angle showing wheel.
The track rod extensions arrived from the UK so put the new dampers and springs on, changed the gaiters around the steering rack and screwed on the new tie rod bearings. Then tightened everything up. Then it was simply to put back the brake disks, calipers and try out everything before the wings went on.
Everything connected up and adjusted.
First trip out before the wings and nose coming back tomorrow.
Another improvement I've been thinking about for a year or so is to hide the bolts holding the two front wings to the brackets as well as the two holding the mud flaps.
A little unsightly as well as the bolts were starting to split the fibreglass.
I think hidden bolts will make the wings cleaner and hopefully a little less home built looking.
Went through a few ideas how to solve it but in the end decided on metal brackets with bolts welded to them, fibre glassed to the underside of the wings.
My favourite Plåt Precision in Huddinge made up two sets of three brackets. Top and bottom of wing and one for the mud flap.
Here they are stuck in place with a small amount of resin just in case the positions need adjusting.
Started with a small amount of fibreglass which I will add to over the next couple of days. I'm not at all good at it so it's lucky they will be hidden under the wing!
Part of the onboard espresso machine... just joking! My Philips Saeco Minuto packed up so I'm in the process of changing the water pump. Can't work efficiently without a good coffee!
Prepared a few pieces of fibreglass weave so I'd be ready before the resin hardened
Hopefully this will be enough fibreglass to keep the wing and mudflaps from flying off! I'll give the wings to Mats tomorrow for painting.
Today picked up the wings from Mat, he did a fantastic job in only 4 days! They look exactly as I was hoping they would. Fit really well onto the brackets and all the holes have gone - brilliant!
Before
Before
After
After
Another job is to fix the gear-stick gaiter. It's never really fitted correctly as it was from the original BMW. I found one at CBS while I was in the neighbourhood in March which had the "leather" gaiter part falling off the chrome surround, so I got it cheap.
Trouble is the holes in the chrome surround are slightly smaller than the metal drive shaft cover under the carpet so it can't be bolted to it. Solution is to have a plate in between. Using 2mm sheet aluminium marked out an approximate shape. The 2mm plate will be bolted at each end as the fuel line runs along one edge.
Cutting out rough shape.
Next stage done!
Not sure where this is going but I'll continue for a little while longer. Not sure if this is the correct solution.
The final solution! I only had to use one of the plates I made up to bolt the chrome surround to. I used the gaiter that Anette made a couple of years ago as it fitted perfectly and looks much more in harmony with the rest of the car. I may look for a chrome surround for the handbrake too.
Everything in its place. Apart from the garage needs a good clean!
I added the nose cone that Mats also polished, put back the indicators, screwed the grill in place and just for fun I added a red "S" badge from a Mini Cooper S as the Super Charger is an Eaton 45.
Didn't fit very easily so as a temporary measure added a large washer behind the grill.
Replaced the large but discreet black with black lettering Super Charger badges (Landrover Discovery) I had before with these smaller ones also Discovery.
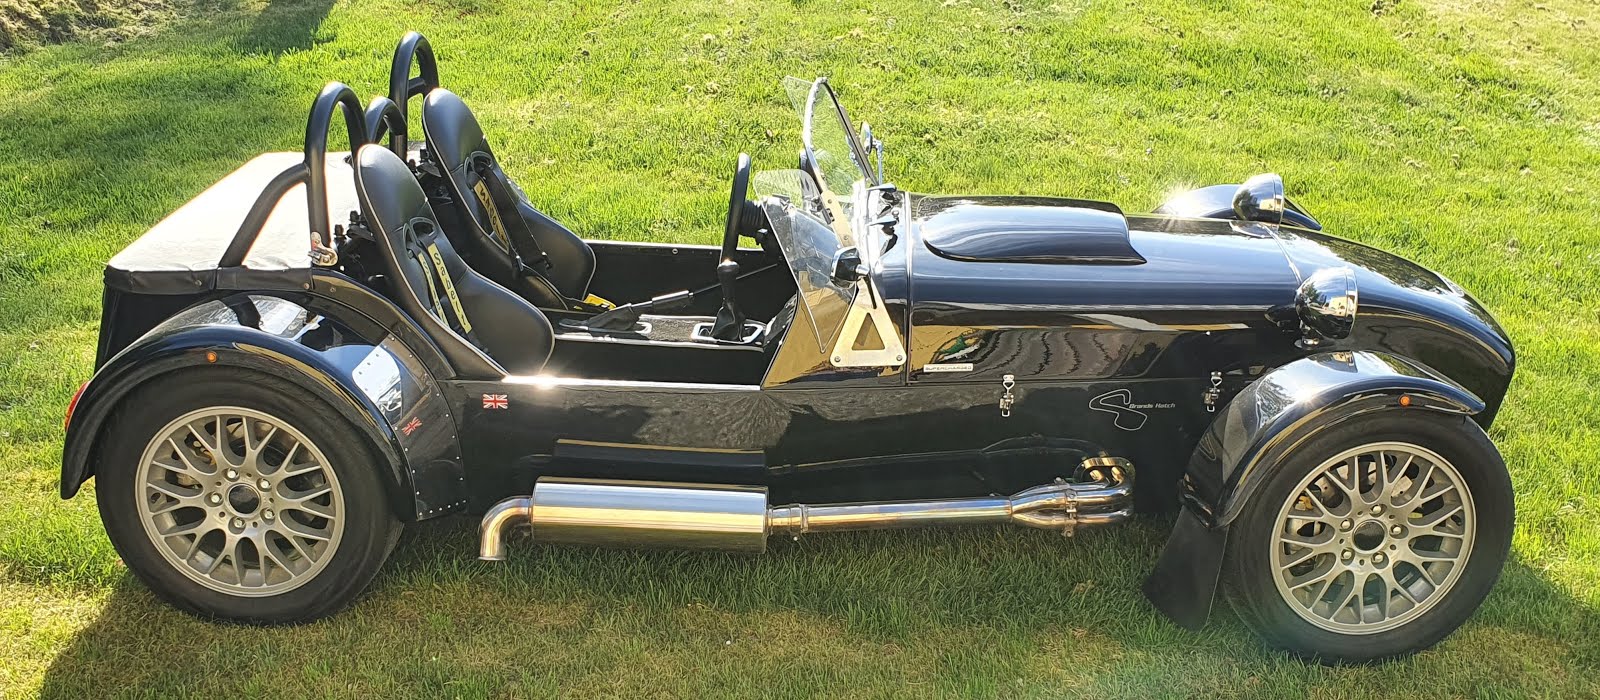
Took her for a spin Saturday afternoon to Rosenhill and wow what a feeling - again! Weather had been great for around two weeks but typically the day the car was ready it wasn't so good but at least it didn't rain.
New radiator coming soon ...