Steve's GKD Legend

Steve's GKD Legend
Still, On the road again!

Search This Blog

Wednesday, 25 June 2025

Spring maintenance PLUS

Welcome back to the 14th year since the build started. 

The intention this time was simply to get the car ready for the new season, oil and filter change etc. thinking things would be straight forward. Well, I ended up leaving it until the beginning of April, which in hindsight wasn't a great idea. 

I took a quick drive around the block and back in the garage I found a smallish oil leak at the joint between the left corner of the lower camshaft housing, the upper housing and joint between head and block. This meant a lot more time to strip down, replace gaskets etc.

At the same time I also wanted to finally fix the issue with changing the oil filter. 

Difficult to see the leak but it's in a very awkward place.
Seems to be a common problem with this engine.

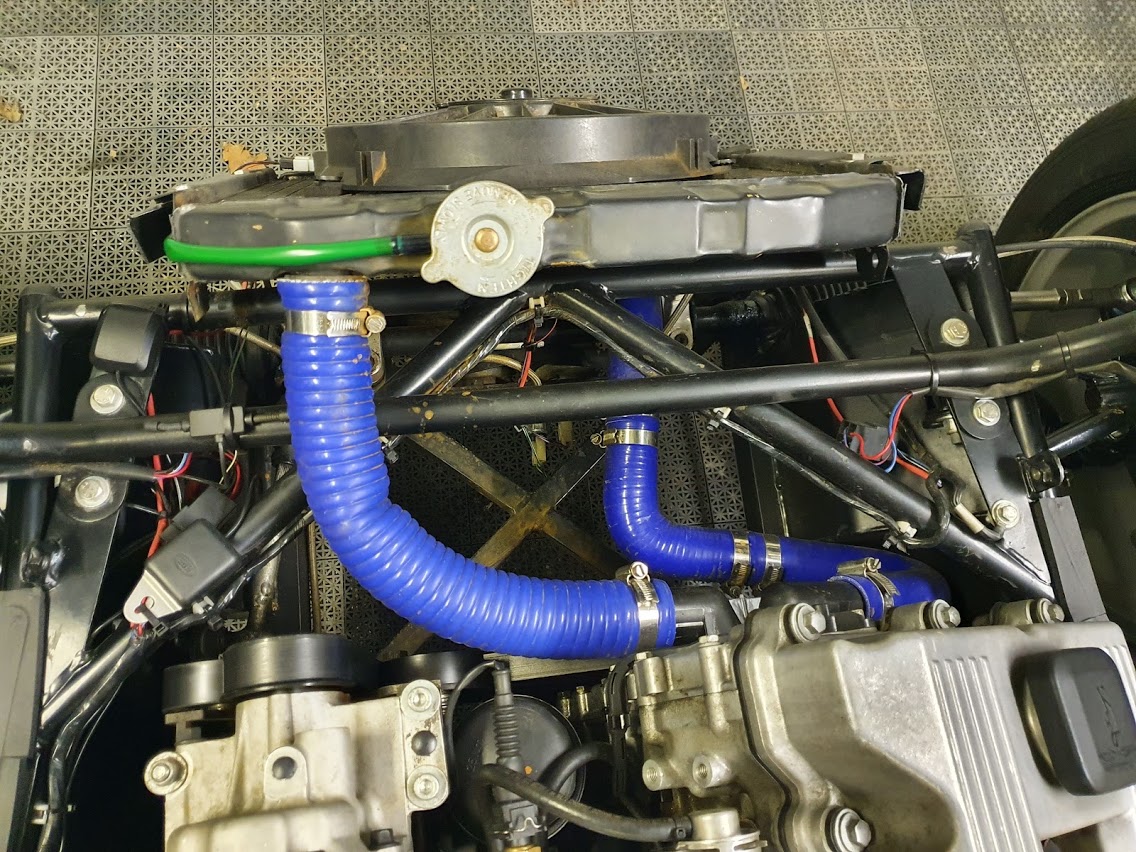
First thing, strip away as much as possible starting with emptying the radiator, pipes etc. 


Off with the crankshaft bolt. Luckily I have the long tool I was given by a Scania friend to lock the crankshaft to the garage floor.

Water pump needed to be pulled out by using screws (see BMW manual) Should have taken the pump off before taking the lower timing chain cover off as there was still water in the system.
Everything off, ready to put back new gaskets.
Change coolant pump gasket.
Pump bolted back in place.
New crankshaft seal
New lower timing chain cover gaskets. Also replaced upper timing chain cover gasket and profile gasket
.
New head cover gaskets
Coolant connector flange bolted back. Thermostat was only cleaned.

Cylinder head cover bolted and torqued.


Oil Filter Solution


I should have solved this a long time ago. The fact I had to remove the whole of the inlet manifold including the supercharger and mountings to be able to unscrew the top of the housing to get to the filter.

No space left to remove the oil filter.
The filter cover hits the mounting bracket of the supercharger.

The only option I could see was to file off part of the supercharger bracket to allow the oil cover to be fully unscrewed. Then I checked RealOEM to see if there was another oil filter holder that could be compatible. I first looked at the gasket part number and clicked on the associated link.


To get this:


Then I chose the 5 series E34 518i


The gasket (6) on the E36 318is is the same (same part number) as gasket (9) for the E34 518i and a few other BMW engines eg. E30 316i. So I basically assumed the engine block was compatible with both. The E34 filter holder looks shorter and with a center bolt fixing. So this could be the perfect solution, if it's totally compatible.
My oil filter housing removed. The same green gasket.

Shout out to Per, owner of Bil & Motorteknik who checked to see if he had one available. Well he did and (long story short) I got hold of one!


Side by side a perfect match.
A quick check with the inlet and supercharger in place to see if it actually fitted.
It did hurray!
Cleaned up, a new gasket and bolted in place.
Alternator bracket back on.
Fits perfectly.
Back together, only the radiator to go.

Note to self: When connecting the fuel in and out pipes it's a great deal easier to remove the whole fuel rail!
Okay don't look at the weeds! Out for a test drive. All working fine apart from a small radiator leak.


to be continued ....


Sunday, 29 September 2024

Still going strong!

2024 drawing to a close! The little car looks just as good as ever. There have been a few small issues since my last post 4 years ago. The left front wing weld has broken four or five times. It's now held in place by a bungee cord which is actually a very good damper against vibration. I need to find a solution that consists of a thick rubber washer between the ball joint and the wing bracket, but I believe the ball joint bolt is not long enough. Will have to look into it. But this is how it looks at the moment. 

I could actually find a shorter bungee so it didn't look like a quick fix.

I made the big mistake of not checking the water level in the radiator and had a hose cap fail due to over heating while out driving. 
I first checked the oil and there were no signs of water so that was a big relief. The outlet pipe which is connected to the water pump feeds water to the heater and the air conditioning system. In the GKD the air conditioning outlet has to be blocked off with a cap. 

Position of the cap. Coilover plate (blue)


Held on with a double jubilee clip

It's happened once before but I only used a rubber cap. This  time I replaced the cap with an aluminium plug and a new cap. Filled up with water, checked oil etc. But the engine ran really rough. Slight panic set in but then I noticed that the coil-over bracket (holds all four spark plug coils and cables in place) was loose at one end! Just to check I took the coil over bracket away and noticed that two spark plugs were covered in water (radiator water that had splashed up during the boil over)

It's a long way down!

Cleaned out the water, cleaned the plugs and put everything back. Thank goodness the issue was solved. 

Out today 29th September for Coffee at Rosenhill - Must have been cold as all the cyclists and bikers were inside and me - outside!


To do list:

Winter Service

1) Oil/Filter change

2) New injectors

3) New plugs

4) Fix wing(?)

5) Brake check.

I need to remember to put the car up on blocks to stop the tyres going flat!


Sunday, 10 May 2020

2020 A freshen up last job - New Radiator

At last the radiator arrived from the UK. Really nice looking and hopefully will make a big difference to the overheating problem.
CoolExperts item number 163163207986: Ford Escort MK 2 , Cortina , Kit Car 42MM Aluminium Race Radiator. 38mm in/outlet, fan on welded brackets + 22mm boss and temperature switch.
Outlets are positioned top left bottom right.
Old radiator, not sure it actually cooled at all!
Very under dimensioned and basically poor quality.
I was a little worried that I would have to make up new brackets or at least need to modify the original but as it happened the brackets and bolt holes lined up perfectly. 

Not much to see here but I bolted the radiator in place to make sure the nose cone fitted over it okay and the filler cap was reachable.
The hose is only temporary or at least Until I can find a better replacement.
Parked the car outside and left it running for a while to check that the temperature switch worked and in turn turned on the fan. It did, earlier than the old one which is good. Far less noise than the old one too. I'll go out and do a nice long drive in the next few days to check for leaks etc. but I'm pretty confident.

Well it's been a week or so since I installed the new radiator and it's working really well. It didn't come with a new cap so had to buy a new one but with the more efficient radiator, larger fan and new cap the problem is well and truly solved!


A few photos while the weather was good!