Steve's GKD Legend

Steve's GKD Legend
Still, On the road again!

Search This Blog

Sunday, 22 February 2015

Spring was in the air!

Hello again, as usual everyone was lulled into a false sense of security, thinking spring was on the way but one can never guarantee that until end of April. Last weekend the sun was shining and decided I'd do a test run around the block. Spent over an hour shoveling away hard packed snow and ice, sun was going down by the time I finished. Hopped in the car and realised I had not connected the steering so had to wake until the next day!
The test drive was okay but the clutch pedal wasn't releasing the clutch enough so very difficult to change gear. I was a bit suspicious whether as well as upgrading the clutch, flywheel etc. to an M3 it would also be necessary to change the clutch master cylinder. Well that's what I had to do.
Nice new M3 clutch master cylinder. The release stem is longer, haven't tested it yet but hopefully it'll solve the problem.
Idle regulating valve - replaced
ABS sensor. I'll mount this and see if I can get the speed signal from it instead of using the diff sensor.
The front right hub upright already has a hole for an ABS sensor.
Something like this ...
and this ... problem was the hole is a little too small and also slightly in the wrong place, at least for the ABS sensor I bought (M44).
Hole enlarged and fixing hole with M6 thread to the right. Also had to make a slight adjustment to the sensor so it would go in further. 
 The pickups are roughly in the centre of the "teeth"
Bolted in place.
Upright in place just need to connect power to the sensor and take the pulse wire to the ECU (See May 22nd 2013)
X20 Connections
9 - BR/RT-WS/GR/GE (WS/GN) ABS SIGNAL DME-ABS / OIL TEMP>INST M3
14 - SW/WS DME<SPEEDO OUTPUT (M1.7.3 MSS50 M41) 

On with the air filter box and just about completed the final prototype, which may end up being the final version if I don't get it made up somewhere. Problem is I have a metal cutter but not a metal bender so the edges for the tags are really bad. Maybe I'll try and fill the bad bits and then spray paint it black.
It's quite a tight space between battery and air intake. The top of the box is slightly below the bonnet so I can place a rubber edging between.
This will be the approximate size of the hole in the bonnet.It can't be much bigger than this as I want a tight contact between the filter box and bonnet.
The scoop will have to be bolted quite a way back on the bonnet.


Monday, 2 February 2015

A few hickups

The engine is back in, cables and pipes tidies up. Turned the engine over a few times without coil overs connected to get oil pressure up and then started it for real. Kept stalling directly and the only way to keep it going was to rev to 4000 revs or so. It sounded as though the firing order was wrong but that's basically impossible because all the cables are all cut to the correct length. 

One thing I did do while the engine was out was shorten the length of  the cables to the coil overs as they were unnecessarily long. I thought I had perhaps wired them incorrectly but I buzzed all the cables out and they were okay. I checked the plugs and they were coated in carbon which means too rich. I have now disconnected the MAF and directly it runs much better, not perfect but at least it stops stalling. Still the idle is quite erratic and the new vent valve (can't remember the name of it but it was replaced when installing the SC) is moving in and out continuously.

The only thing I may have done differently this time is torque everything to the exact specification whereas the first time I put the engine in I didn't have a decent torque wrench! 

Any ideas why it's running like this would be greatly appreciated.....

..... Thanks for the help Dave, James and Taffy.

I have tried a few things and have a few things left including replacing lambda. I will also change the MAF as I bought a cheap aftermarket one before. This is what it sounds so far .....
While this is going on I'm starting to prototype the air intake. I intend to encase the air filter with an opening to a hole in the bottom.

Once the shape is correct I'll cut it out from aluminium sheet. The idea is it will fit snugly up against the bonnet. All the nice cold air should go straight to the air filter!

Saturday, 17 January 2015

Onwards towards a nice upgraded M3 Clutch

Happily the ARP bolts arrived so I was able to get them in and torqued.
Fastener assembly lubrication on thread and under the head.
All ARP bolts torqued to 20 Nm plus 70 degrees.
New sump gasket in place. 

Sump bolted and also torqued into place.

Time to get the clutch parts ready by cleaning out the bell housing and placing a little copper paste on the shaft and a small amount of grease on the splines.  
New throwout bearing and cleaned up clutch fork.
Checking the new M3 clutch plate fits nicely on the spline before getting it attached to the clutch housing. "Getriebe seite" on the clutch plate (Towards gearbox)
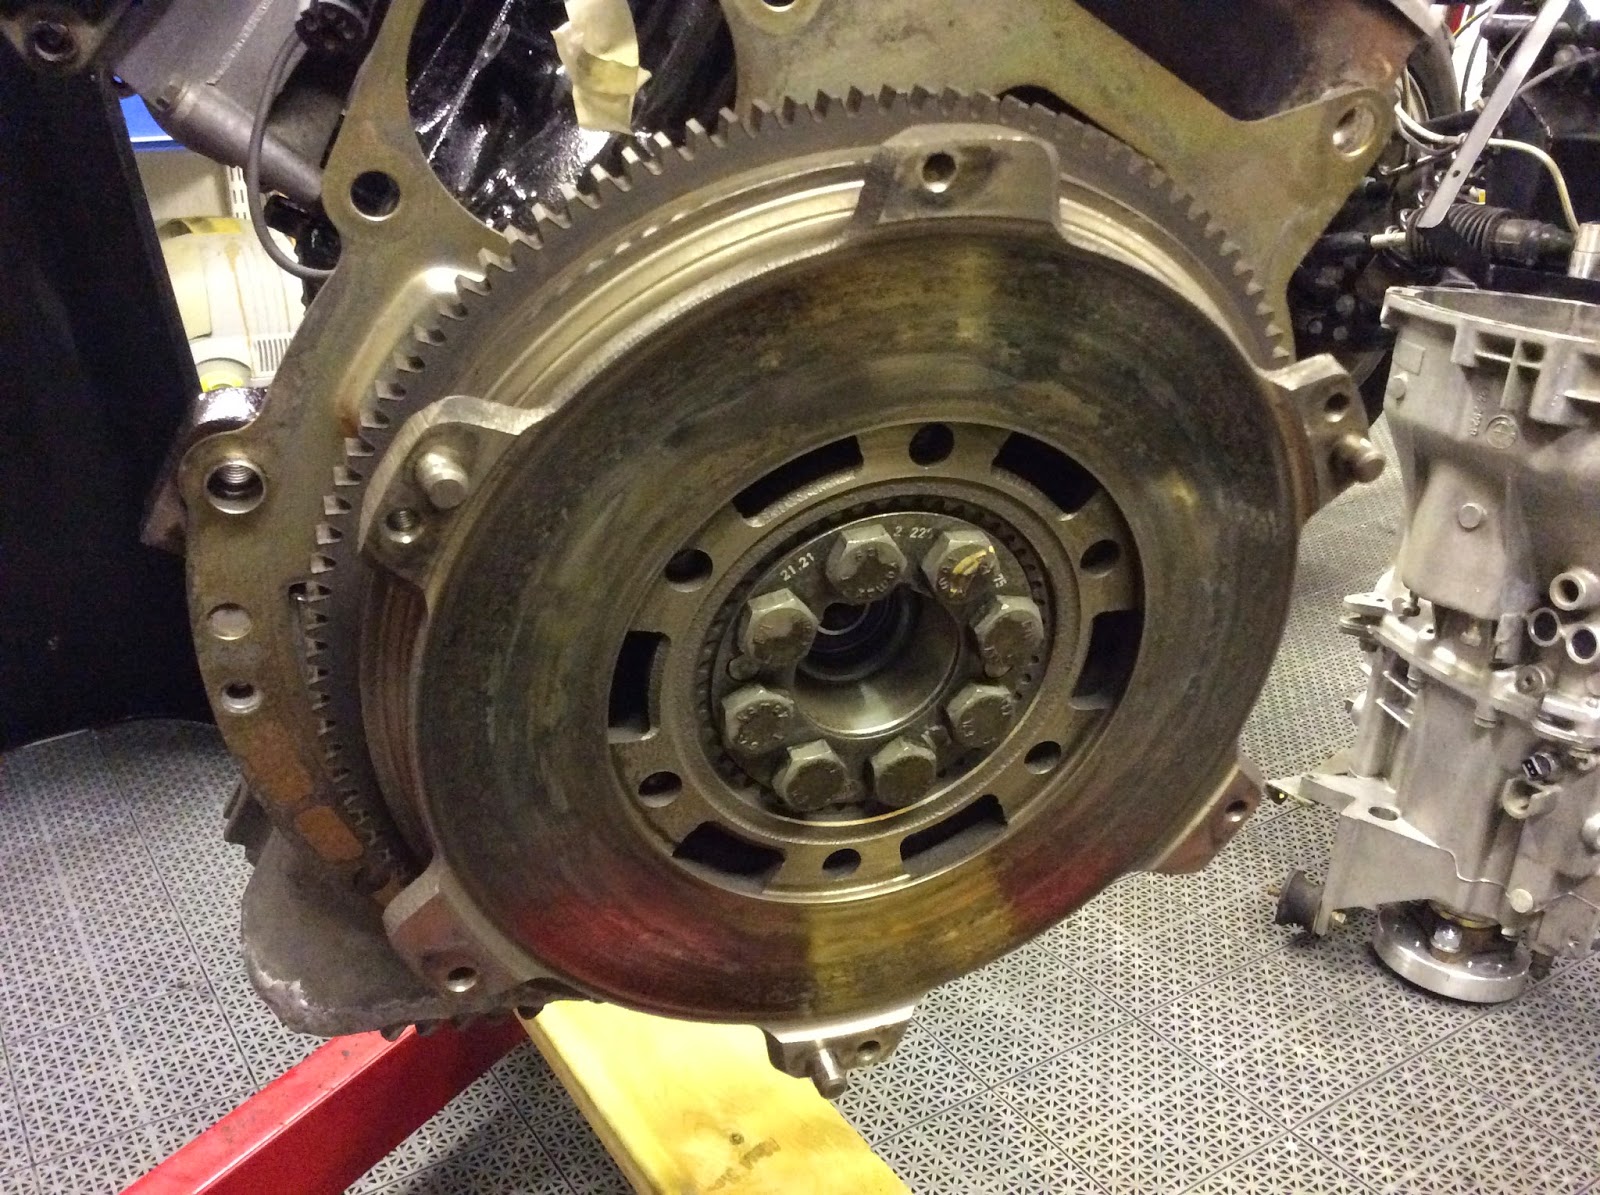
First a new pilot bearing put in place and then the M3 flywheel torqued to 120Nm also the clutch surface cleaned thoroughly with brake cleaner. 
Clutch pressure plate in place (also cleaned with brake cleaner). Used a socket to get the plate centred. Bolts torqued with a T40 to 24Nm. 
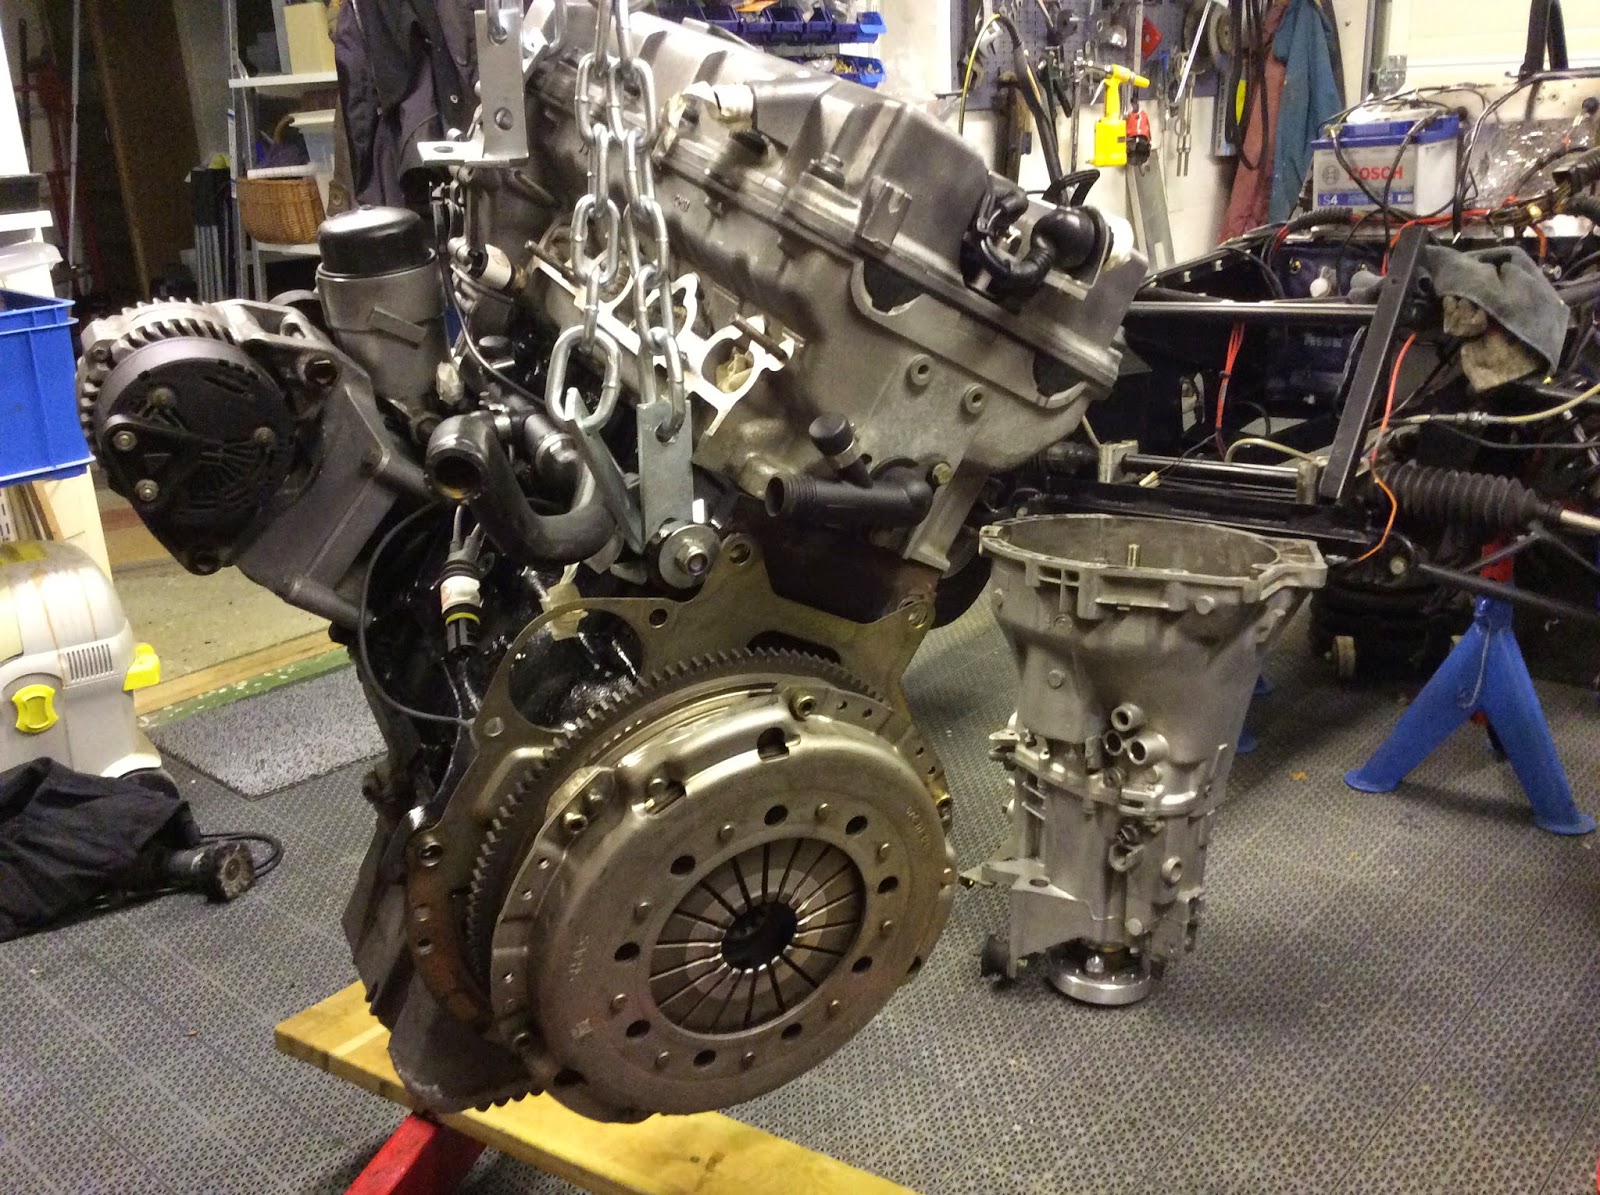
New big end bearings, ARP bolts, gaskets, throw out bearing, pilot bearing, M3 clutch plate, water pump, thermostat and oil filter. Second hand M3 flywheel and clutch pressure plate. I'm very happy it's all done. I just hope it starts eventually! 

Hope the gearbox slips on without problems tomorrow ....

Well we were lucky the gearbox just slipped on like a glove. Torqued all the bolts and it's ready to go in!
For some reason the engine didn't go in quite so easy as the clutch! There are a couple of heating pipes going across the ceiling so the engine lift could go to the maximum height.
At last it's in, just a case of connecting everything. 
Prop shaft connected and soon gear lever arm.  
Lots of connectors to be plugged back in. Luckily most of them can only go back in one place.
This bunch of cables will be cleaned up later. New heating hoses go directly to the engine heating system leading to more efficient cab heating - hopefully. 
Fuel pipes next.
Super Charger in place. Bracket at bottom center is to take the weight of the SC off the inlet manifold. 

Fan belt in place.
First part of the exhaust manifold bolted in place.
Second part ...
Third and final, everything buffed to a shine. 
Filled with oil and a new filter. Just the clutch still needs bleeding.
Radiator and hoses in place.
I've replaced the throttle valve switch (center) and will change the idle regulating valve next (right center)

Tuesday, 6 January 2015

Happy 2015!

Where is the time going? It's now 4 years to the day since Fredrik and I were over in Kent collecting all the parts and engine. I wish it would slow down a little!

Unfortunately because I had to order the ARP bolts again I can't do any more to the engine, I intended to change the gearbox oil but then the engine has to be complete before the clutch assembly can go back on again. It's nice actually not to be stressed and it gives me loads of time to think of improvements. 

Last winter I fixed the heater control in the on position as it was always on anyway. It saved having a cold/warm control in the console that was never used. On a hot day I just wouldn't use the fan. Now I have removed the control altogether. I replaced the pipes and removed unnecessary connections to the engine water system. I have also added an air intake in front of the heater radiator as there was no way air could get in before which meant the pressure of the warm air pumped through the air vents by the fan was very low. 
Less joins in the in/out pipes. There are four output vents, two for the windscreen/dashboard and one for each side of the console. 
New air intake with a grill. I don't think any nasty things will be sucked in there, it's all covered by the instrument console anyway. The other hole is for cables. The fan is in the black casing behind the small radiator. A neat system that I found on Ebay.
Gradually getting cables sorted out. The windscreen water bag is now to the left below the battery. The connection block was there before but that's no longer needed.

Tuesday, 30 December 2014

Trying to get my bearings!

This engine parts replacement business is taking more time than I thought A couple of problems I created myself so I'm actually to blame for most of the delays. New water pump and thermostat arrived and were duly put in place, something else to tick off. Sump gasket, inlet and exhaust gaskets arrived from BMW as well as new big end bearings so I could get on with the next stage.   
Water pump and thermostat in place.

I've put off doing anything with the bearings because the ARP bolts I ordered took longer to be delivered than expected. They arrived today BUT are the wrong ones! Will have to order them all over again! But anyway I decided to check the crankshaft as well as check the clearance of the new bearings.
New standard bearings for my M44 engine. The two on the top are old, showing slight wear. 
New torque wrenches, wrong ARP bolts, plastigauge.
Sump removed,  con rods 2 and 3 sticking up ready for bearing checks.I marked each con rod and bolt so as not to get them mixed up.
A small amount of Plastigauge placed across the face of the crankshaft ... 
 ... before bolting on the bearing and bearing cover and torquing to 20Nm and 70 degrees
Dave mentioned the tolerance for the M44 big-end bearings (conrod) is between 0,02 - 0,055mm. Mine, at least nr. 3 as you can see is 0,025 which is very little wear. I hope the other 3 are just as good.  
I'll clean this off with some WD40.

While waiting for the parts I continued to clean up the wiring. I intend to shorten the spark plug feed and ODB II connector as well as many others.
Unnecessarily long cables. I'll cut and splice them.

I'll continue with other parts of the car until the new ARP bolts arrive. I hope they don't take too long!