Steve's GKD Legend

Steve's GKD Legend
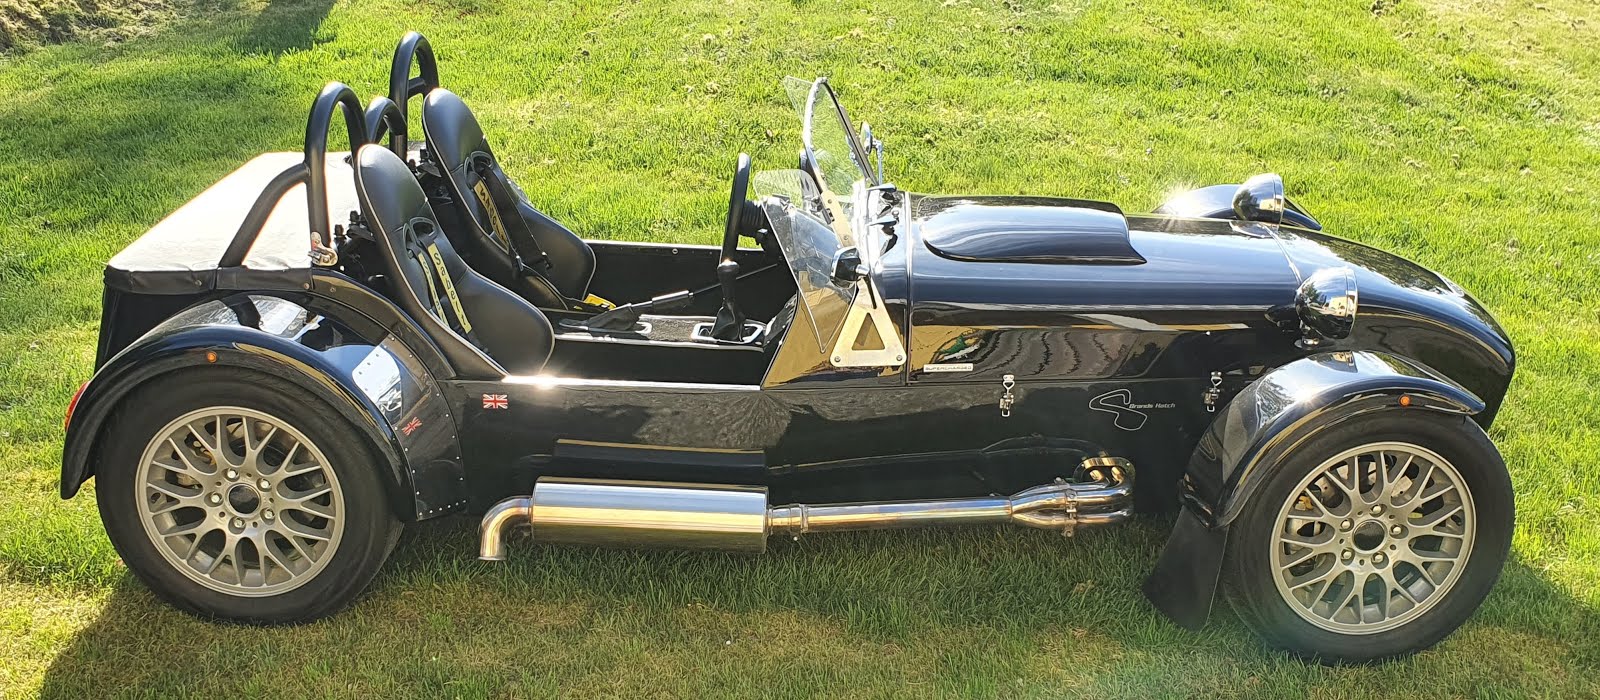
Still, On the road again!

Search This Blog

Sunday 30 January 2011

Steering Rack

After some great advice (thanks Franky) I managed to remove the steering rack nuts very easily by just heating them up with a hair dryer type of paint stripper, slipped on the compression springs required for the IVA test, greased it up and put it all back.
A few minutes heating loosens the glue keeping the nut in place
Compression spring in place

A little grease over the spring and then the gaiter went back

The IVA also requires a gaiter covering the steering rod nut. Once that was in place I put one of the disks on ready for calipers tomorrow.
The IVA required gaiter (black tube) covering the steering arm nut. Disk ready for calipers tomorrow.


Sunday 23 January 2011

Gearbox tunnel panelling riveted

I finally riveted on the two panels on both sides of the gearbox housing. I squeezed out two lines of black sealant and then riveted on the panels. The sealant is a bugger to get off hands so plastic throw away gloves would have been good – oh well next time! Once the sealant was in place I turned the lights off and shone a torch around the back edges of the panels to check if light came through.
Tape used to cover and fill large holes with sealant

I’m also working on the front steering rack, had to call Peter to talk me through what was needed for the new IVA regulations. The inner ball joints have to be removed so a compression spring can be placed behind them, this is required so the steering straightens automatically. At the moment I can’t get the cap nut off – that’s the next task.

The clamps holding the steering rack to the chassis.
Once I pulled off the gaiter this was underneath. Trouble is even using a plumbers wrench I can't seem to undo the cap "bullet" nut to the left.

Wednesday 19 January 2011

Front Springs and Dampers

Once the lower wishbones were in place it was onto the real Lego type parts. I found out that it was better to install the upper wishbones before the dampers otherwise it wasn't possible to insert the upper wishbone mounting bolts. For some reason I don't seem to have enough washers to attach the passenger damper but that is easily fixed. The latest version of the kit actually has the springs and dampers already made up as well as the wheel bearings and hubs so a lot of the hard work has been done.
Looks more like a car everyday!

Sunday 16 January 2011

Wishbones done

After a telephone call to Peter we managed to sort out the wishbones. I had to push the rear bush further in to allow the rubber washer to compress more. It was still a pretty tight fit but at least no welding required!
I turned the chassis over as I was fitting and drilling the undersides of the panels anyway which made it easier to work on the wishbones

The side panels on the drivers side fitted snugly to the lower and upper chassis but the passenger side there was approx. 5mm too much panel.
The chassis is slighly shorter on the passenger side which meant the side panel was a little too tall.

This was sorted by placing a metal plate along the edge of the pre-drilled holes and squeezing down with a set of 1m long clamps (I just happened to have a set of three from making my work bench 13 years ago). A clamp and plate were also used on the vertical edge to stop the panel bending outwards.

The clamping created a small ridge but as it's the underside of the chassis it shouldn't be noticeable

The claps were also very good way to pull the panel to the chassis before drilling.

Even though the panels are now pre-drilled they still require some de-burring once the holes are drilled into the chassis. The Dremel is great for that.

Now I need to get help turning the chassis up the right way again ...

Wednesday 12 January 2011

Off to a fairly good start

Last couple of days (only a couple of hours each day) have been spent drilling the two panels either side of the transmission tunnel, my new Dremel tool has come in handy for fine cutting and filing the panels where they come in contact with welds.

The gearbox has been seperated from the engine so it was easy just to place it roughly in it's final position so I could estimate how much I could cut and bend out the panel closest to my right foot. It's very tight between the pedals so any extra space is welcome. I'll probably have to wear ballet shoes to drive the car anyway! 

A very small gap right of the three round pedal holes will give a little extra space for the right foot! I noticed also that the gearshaft cover has to be changed as this one is obviously from the right hand drive donor!

To vary the work a little I also started on the front suspension but came across a problem where the bottom brackets on the chassis are slightly too close so the wishbone won't quite fit in. I'm still at the stage where I'm reluctant to bash anything too hard - I want to try to bend it as in B in the photo and not A.
Peter says this is quite normal when a chassis is first made on
 a jig and then welded; small adjustments may have to be made.


Sunday 9 January 2011

Kit and donor parts safely stored in the Cellar

After a very long trip to Kent the donor parts including tyres were collected Thursday morning and then spent 2 hours with Peter in the afternoon checking off all the kit parts and loading them in the trailer. It's a shame that the fibreglass parts weren't bubble wrapped as there is some damage but they can be touched up later.

The 9 cubic meter box trailer was great but there was no good way to
stack parts so the roof box and back of the Mondeo came in handy too. The
engine was placed over the trailer axle but was still too far forward which
made the Mondeo very light on the front wheels.
Engine out and ready to load, I forgot to take the battery
and some parts aren't needed.

The engine was a bugger to get down into the cellar but a rope tied to the engine mounts, a 2m long scaffold pole and 4 happy helpers solved it.

Spent today emptying all the boxes and placing the parts neatly on shelves. I did notice that perhaps I had made a slight miscalculation with the width of the opening I need to cut in the wall to get the car out; I'm going to have to remove the door as well. That and put a driveway across the neighbours garden!

This step 0 of 80. I've put the GKD key ring on a hook
hanging from the ceiling; the last stage to complete!
Wednesday 5 January 2011

Checked the kit

Went over to see Pete today at GKD and had a quick look at the kit. All the panels have now been pre-drilled which makes life much easier, a few other things have also been improved according to Pete. There are plenty of bags and boxes to keep me busy for months (I hope not years!)
The holes pre-drilled in the panels. Doesn't the black look good!


Dubble skinned Fuel tank.

Tuesday 4 January 2011

The Donor

Went over to BMW Recycling in Little Chart today to check out the donor. Looks good, sounds good and has a nice set of BMW 16" alloys with fairly new tyres. The car has 78,000 miles on the clock and is from 96 - I'm happy! 
 It won't look like this for long!
Engine looks good 

Very pleased with the wheels and Tyres