
Winter project 2020 - 2015 KTM 1290 Super Adventure (Start date 31st October 2020)
I was wondering what my winter project would be, a new lighter clutch for the little car perhaps? But I didn't need to wonder anymore when Neil asked me if I wanted to take on the MC :-)
Brand new, ridden for only two seasons and with only 10,000 km was then unused for 4 years.
Will now get an overhaul, clean, will be KTM serviced as well as getting three outstanding recalls performed oh and also MOT'd (besikning). But had to get it back from Neils first!

Just got it onto the trailer and worried the whole way home that it would fall out along the motorway!

Battery completely flat and not possible to charge.

Nice new, recommended but expensive!

Had to squeeze the little car into a corner of the garage to get enough space.

I started up the bike by first turning it over gently on the starter motor a few times. Once I was satisfied the oil was sufficiently distributed I let it run for a minute or so - sounded great. A couple of warnings that will hopefully be removed once the project is complete.
The strip down begins!
The idea being that I strip as much away as necessary without going too deeply, no engine removal or anything drastic like that. I'll then clean every part removed, replacing rusty nuts and bolts as well as obvious things like chain, rear/front sprockets, filters, oil etc. Then get the whole thing back together.

In my cellar but very difficult to maneuver

Luggage Boxed ready to clean.

Most photographs are to help me remember where everything goes when I put it back together.


Before the bike can be lifted a few things need to be removed.

Crash bars on both sides


Here we go! Bought a very nice MC lift from Motea in Germany. The lift can be used on most MC's with a special adapter depending on what the bike is.

Easily moved around with adjustable height and can fixed in place

The start of removing the tank. Thanks to "2 Wheeled Rider" on youtube for the detailed video.


I'll replace the old air filter placed under the tank even though it looks very good.


Under the passenger seat, tool box etc.

Removing the rear supports for the passenger as well as the luggage boxes.


Small side panel can't be removed as I can't unplug the cable from the ECU. I'll clean around it instead.


Very dirty and some very rusty parts. Let's see how well they clean up.

Chain guard removed.

Draining the tank of remaining fuel, about 10 litres of it that's 4 years old. Tank is one but basically has two halves that have to be drained.


Tank almost cleaned. There is a KTM recall for a tank issue, not sure what it is though but KTM will sort that out free of charge.

Rear speed sensor


Removing rear chain, loosening wheel first. As I'll replace the chain I'll angle grind off the chain.


Front wheel, double discs cleaned up - like new!
Only problem is a couple of the orange decals are worn on one side. Will try and find replacements.

Rear wheel before the sprocket went on.

Rear disc cleaned up.

New and old rear sprockets

Rear wheel with new sprocket. They have cleaned up beautifully, even the tyre!

Old chain, new chain. Will measure up and see if I need to remove any links - hopefully not.


One can really see the white surface corrosion.


Removing the instrument cluster


Showing the position of the handlebars for remounting. Surface corrosion on the centre nut too!


Shows which way the brake cable supports need to be

Removed everything from the handlebars to be able to get to all the corrosion.


Will only remove the silencer.


Exhaust, some small places on the bracket and end piece have rust but without a complete respray it's better to leave them as is.

Parts that still need to be cleaned

Mirror supports in a bad way but with some light wire wool the surface corrosion came off.

Crash bar on the way to be cleaned. Luckily no surface corrosion at all.

Almost as far as I'll strip it.

Collection of cleaned parts increasing!

Moved the brake caliper and support out of the way to give them, and the link arm a good clean.

Removed the exhaust support

Looking good


Wanted to replace the front sprocket so had to get the bike off the stand and back on the wheels. Rear wheel slipped on nicely with a little grease on the axel bolt.

Back in place but not torque tightend yet. Really pleased how good the rear looks.

Time for the front wheel.

Back in place and ready to remove the jack. Have to say the jack has been brilliant. Wouldn't have been able to work on the bike efficiently without being able to remove both wheels and move the frame around easily on the jack wheels.

Now the wheels are down and the engine is in gear its time to remove the sprocket nut. First the washer has been bent up on on side to stop the nut undoing- this needs to be bent straight again.


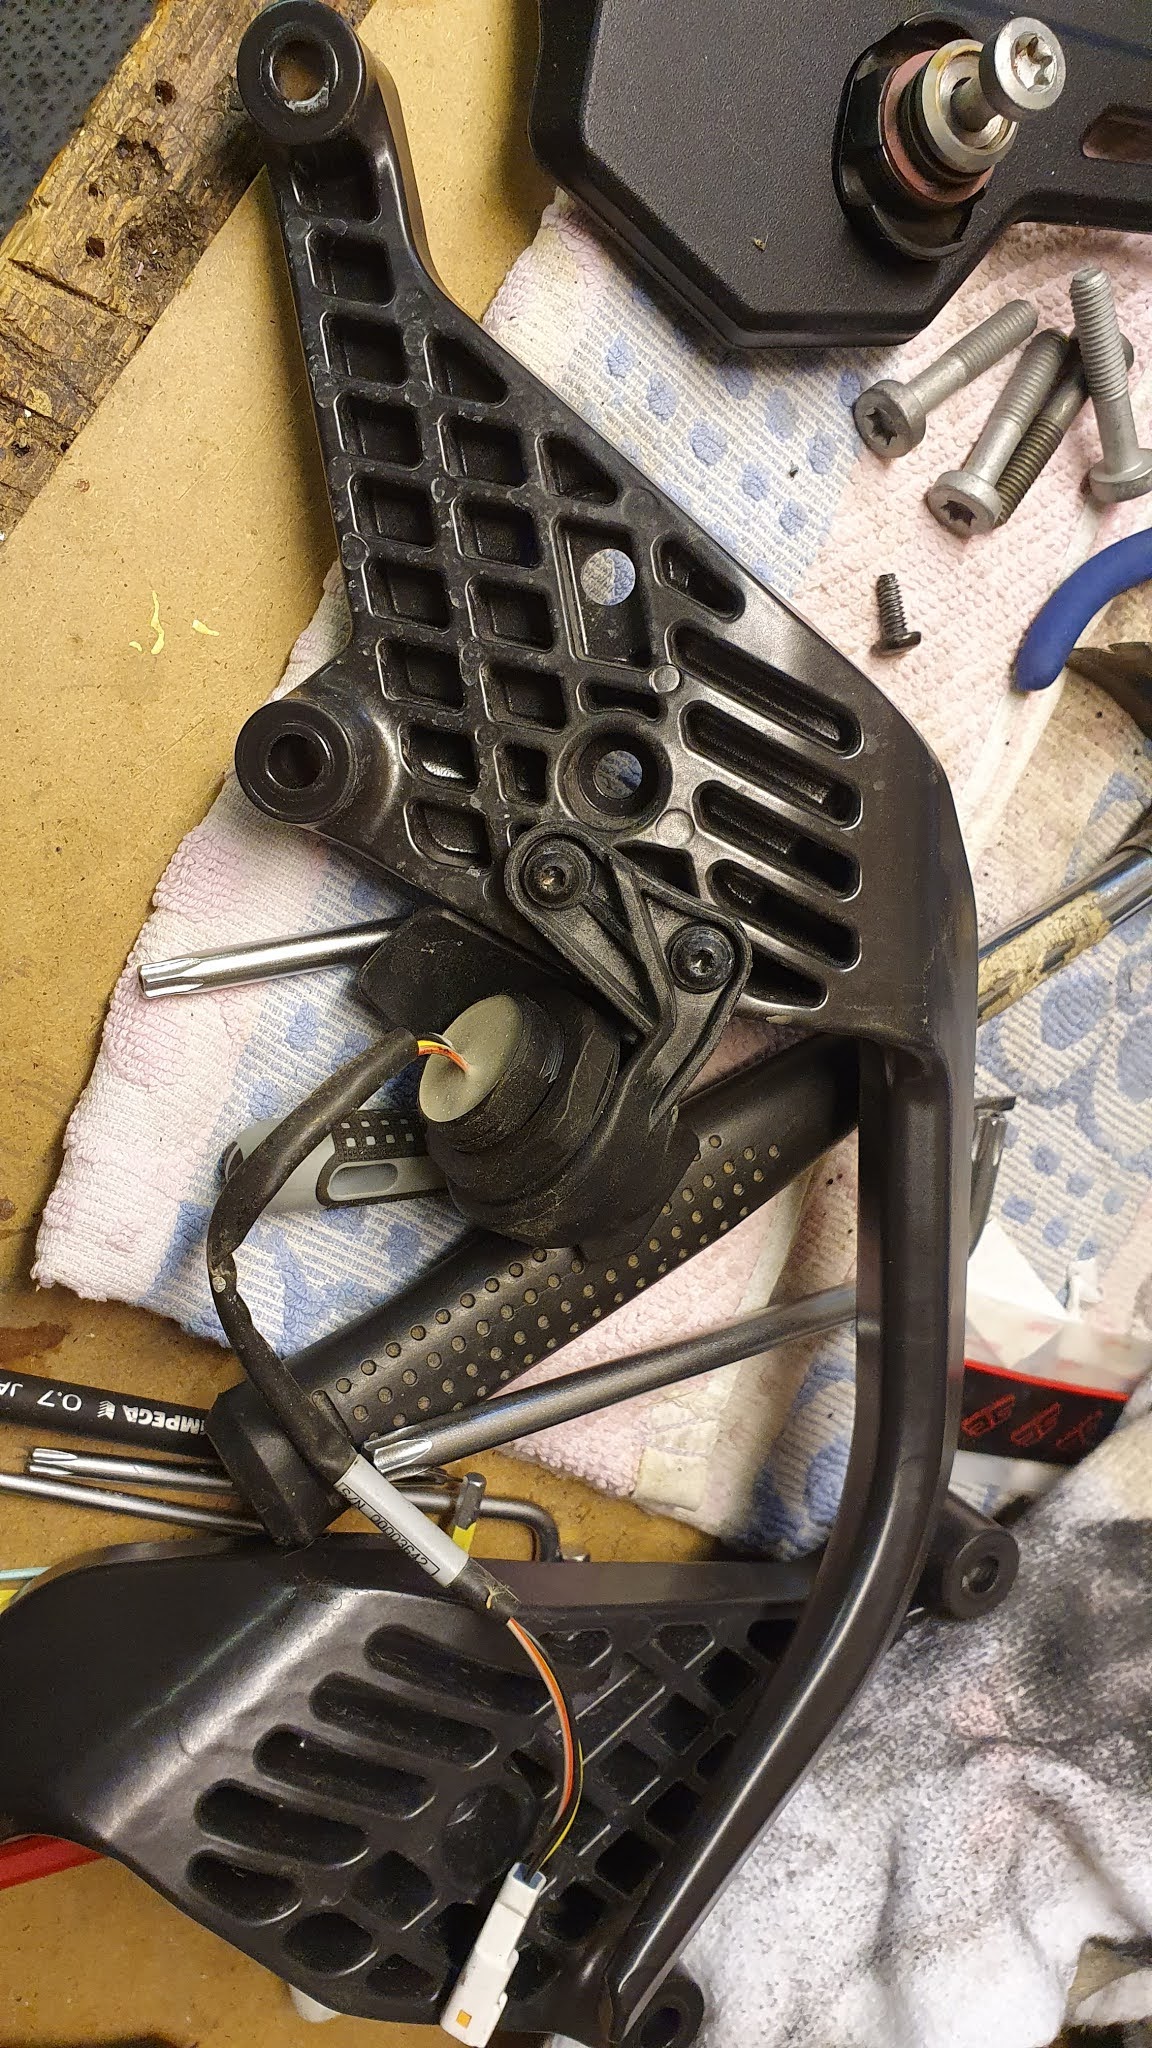
Now time to remove the chain slider.

Needed to remove the chain guide and move away the clutch slave cylinder.

Had to bend the slider to get it out for cleaning.

The bike has only done 10k km so it doesn't need to be replaced.
Chain guard looking good.
Out and ready to get everything cleaned, put back in place and the new damped sprocket put on.
Ummm yes I was a little quick to start putting things back together. Forgot the chain slider so chain guide, clutch slave cylinder off, sprocket off again!

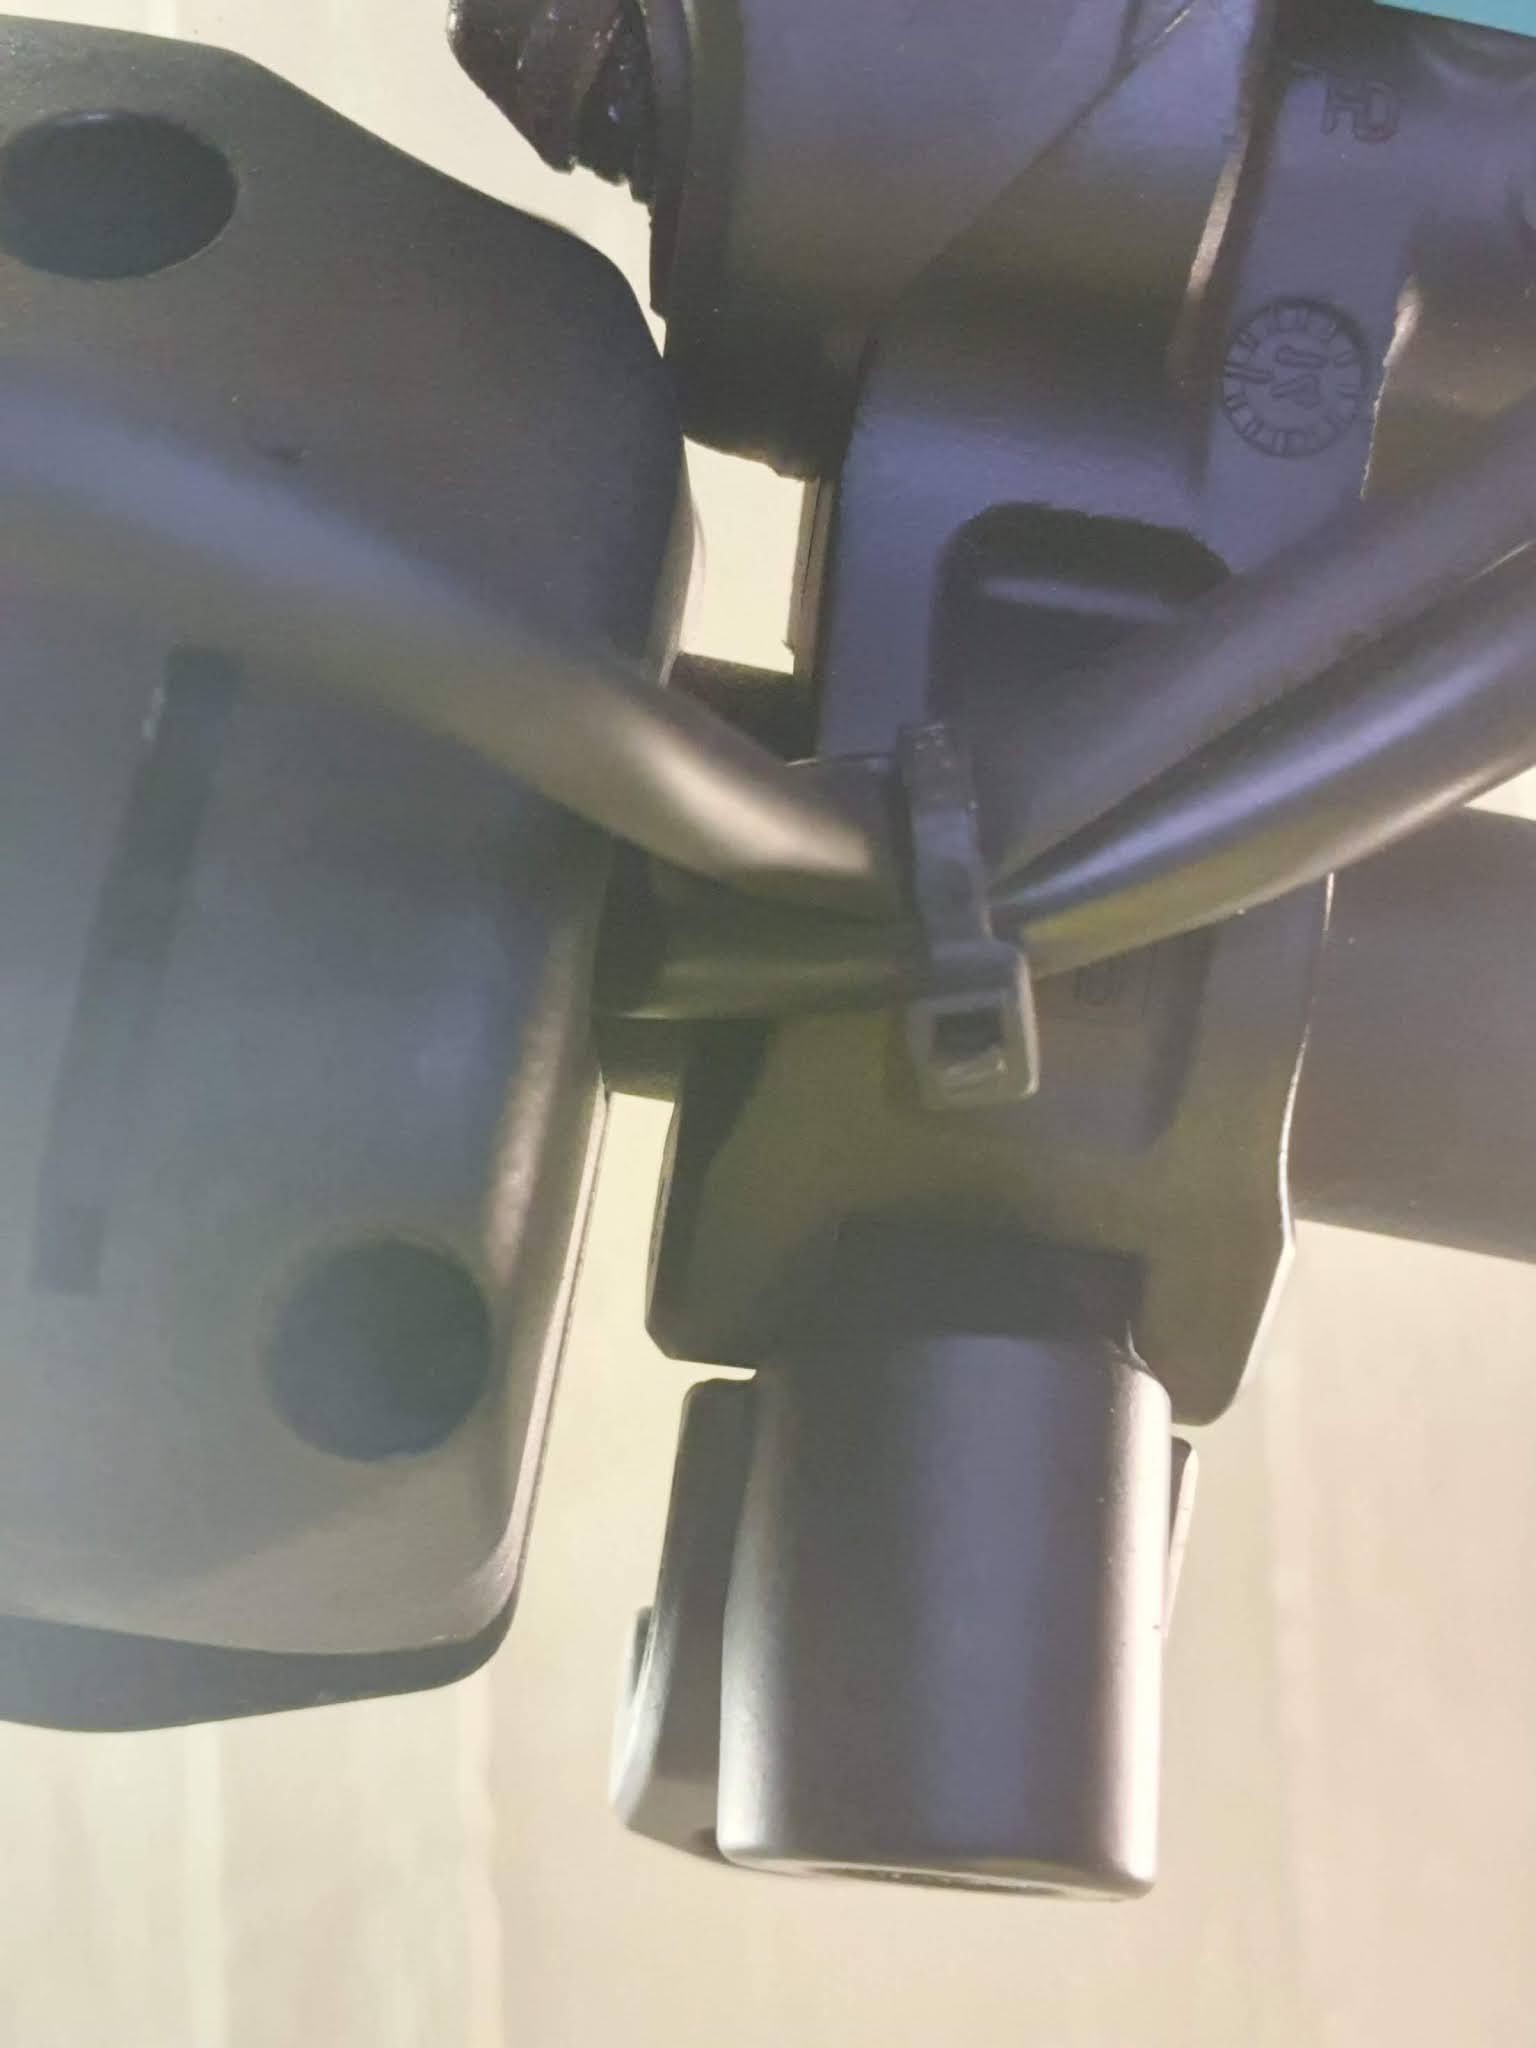
The clutch slave cylinder has a spacer which I cleaned up and put back. There is a retaining pin in the spindle that has to be lined up before the spacer will go back on. Also the slave cylinder needs to be lined up with the two pins on the spacer.

Sprocket back on again. Because the end of the chain slide takes up a small amount of space I had to push the swing arm bolt a little further in so the swing arm could be pushed to the side to get the sprocket to slide past.

Once chain on the front sprocket the chain guard can go on. You can just see it above left of sprocket and chain.

The chain was easy to get back around the rear sprocket but it was too tight to get the rivet back on.

I undid the axel nut and pulled the bolt out until the adjusting spacer on the left (is that what its called?) was clear of the adjusting nut and put the axel nut back without the spacer. This way I could push the wheel forward and get more slack on the chain.

Next thing up is to get the two halves together with a rivet link.

Borrowed this link tool from the KTM dealer in Södertälje - nice

Here's the link with rubber washers in place. Ready for the link top to go on.

Link tool in place. First have to get the top on by forcing the two rivets through it.

Pressed the rivets heads out with the tool but maybe they need a little more!

Different angle, I'll get the dealer to check it when the bike goes in for the service.

Chain, chain guard in place as well as rear wheel torqued. Chain seems a little so will loosen the adjuster a little.

Exhaust back on with guard plus passenger footrests.
Passenger right side hand rail and seat warmer on/off

Luggage box rack in place

Getting there slowly, not many parts left. Front brakes need cleaning and bolts cleaned.

New air filter

Filter in place

From another angle

Air filter top cover back in place and plugged in.

ICU cleaned and back in place. Handlebars still need a bit more cleaning.

Tank back on but needs fuel pipes connected. Although I say it myself, it looks brilliant!

Headlight surround ready for the headlight assembly.

Headlight assembly plugged into the wiring harness and bolted in place.

Spot light assembly in place. Had to remove as the tank cover goes on first.

Wind shield bolted on.

Time to clean front brake calipers and get them back in place.

Front mud guard in place, looks great.

Rotating the bike to get the exhaust facing outside the garage. The MC jack is very good. Wheels get stuck sometimes so they need manually turning by hand.

Engine running for 5 minutes to get the oil warmed up.

Oil been in there for more than four years, didn't look good even though bke was standing still.

Old and the new oil change kit.

Topped up with nice fresh oil!

Looking good!
Clean underneath, stand, etc
Clean drivers seat
Luggage boxes need a bit more cleaning
Check all nuts and bolts
Take for a quick ride up the road - when the snow and ice has gone!
Update April 2021
Everything was finished and the bike passed the MOT (besiktning). Got it sold - Job done!


