

Fastener assembly lubrication on thread and under the head.

All ARP bolts torqued to 20 Nm plus 70 degrees.
New sump gasket in place.

Sump bolted and also torqued into place.
Time to get the clutch parts ready by cleaning out the bell housing and placing a little copper paste on the shaft and a small amount of grease on the splines.

New throwout bearing and cleaned up clutch fork.

Checking the new M3 clutch plate fits nicely on the spline before getting it attached to the clutch housing. "Getriebe seite" on the clutch plate (Towards gearbox)
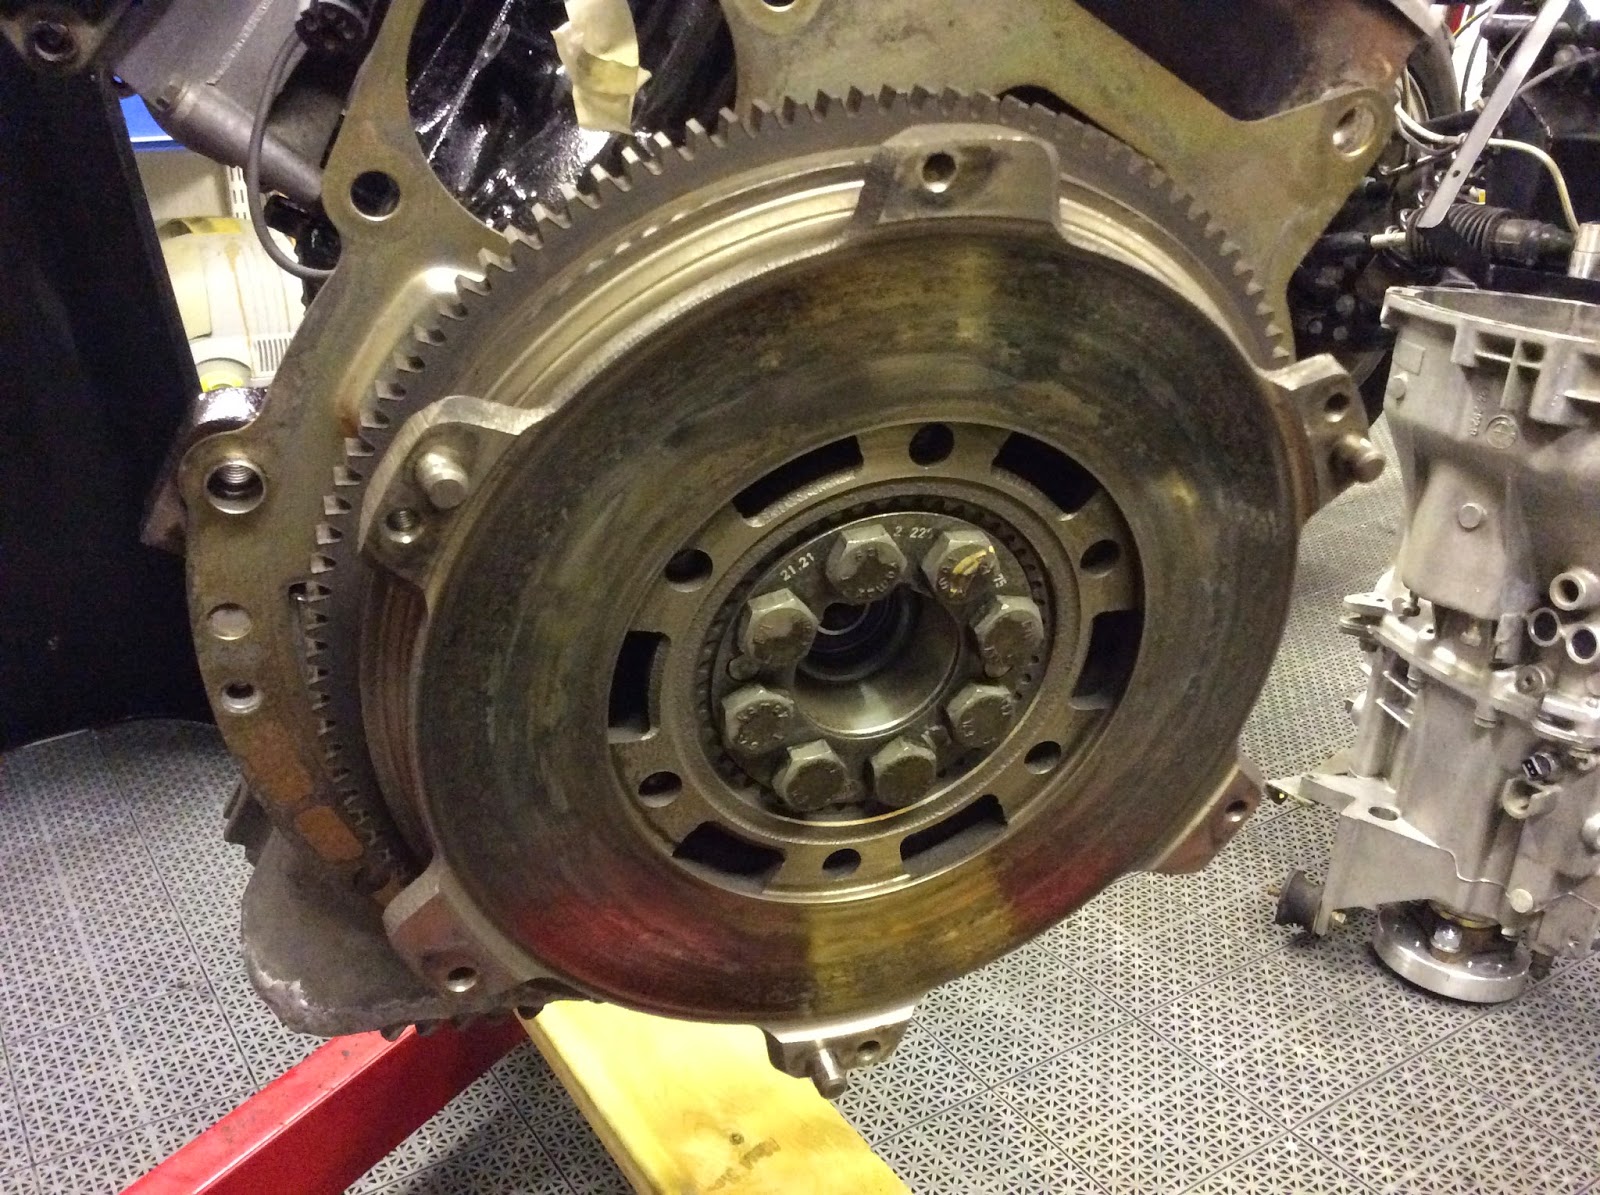
First a new pilot bearing put in place and then the M3 flywheel torqued to 120Nm also the clutch surface cleaned thoroughly with brake cleaner.

Clutch pressure plate in place (also cleaned with brake cleaner). Used a socket to get the plate centred. Bolts torqued with a T40 to 24Nm.
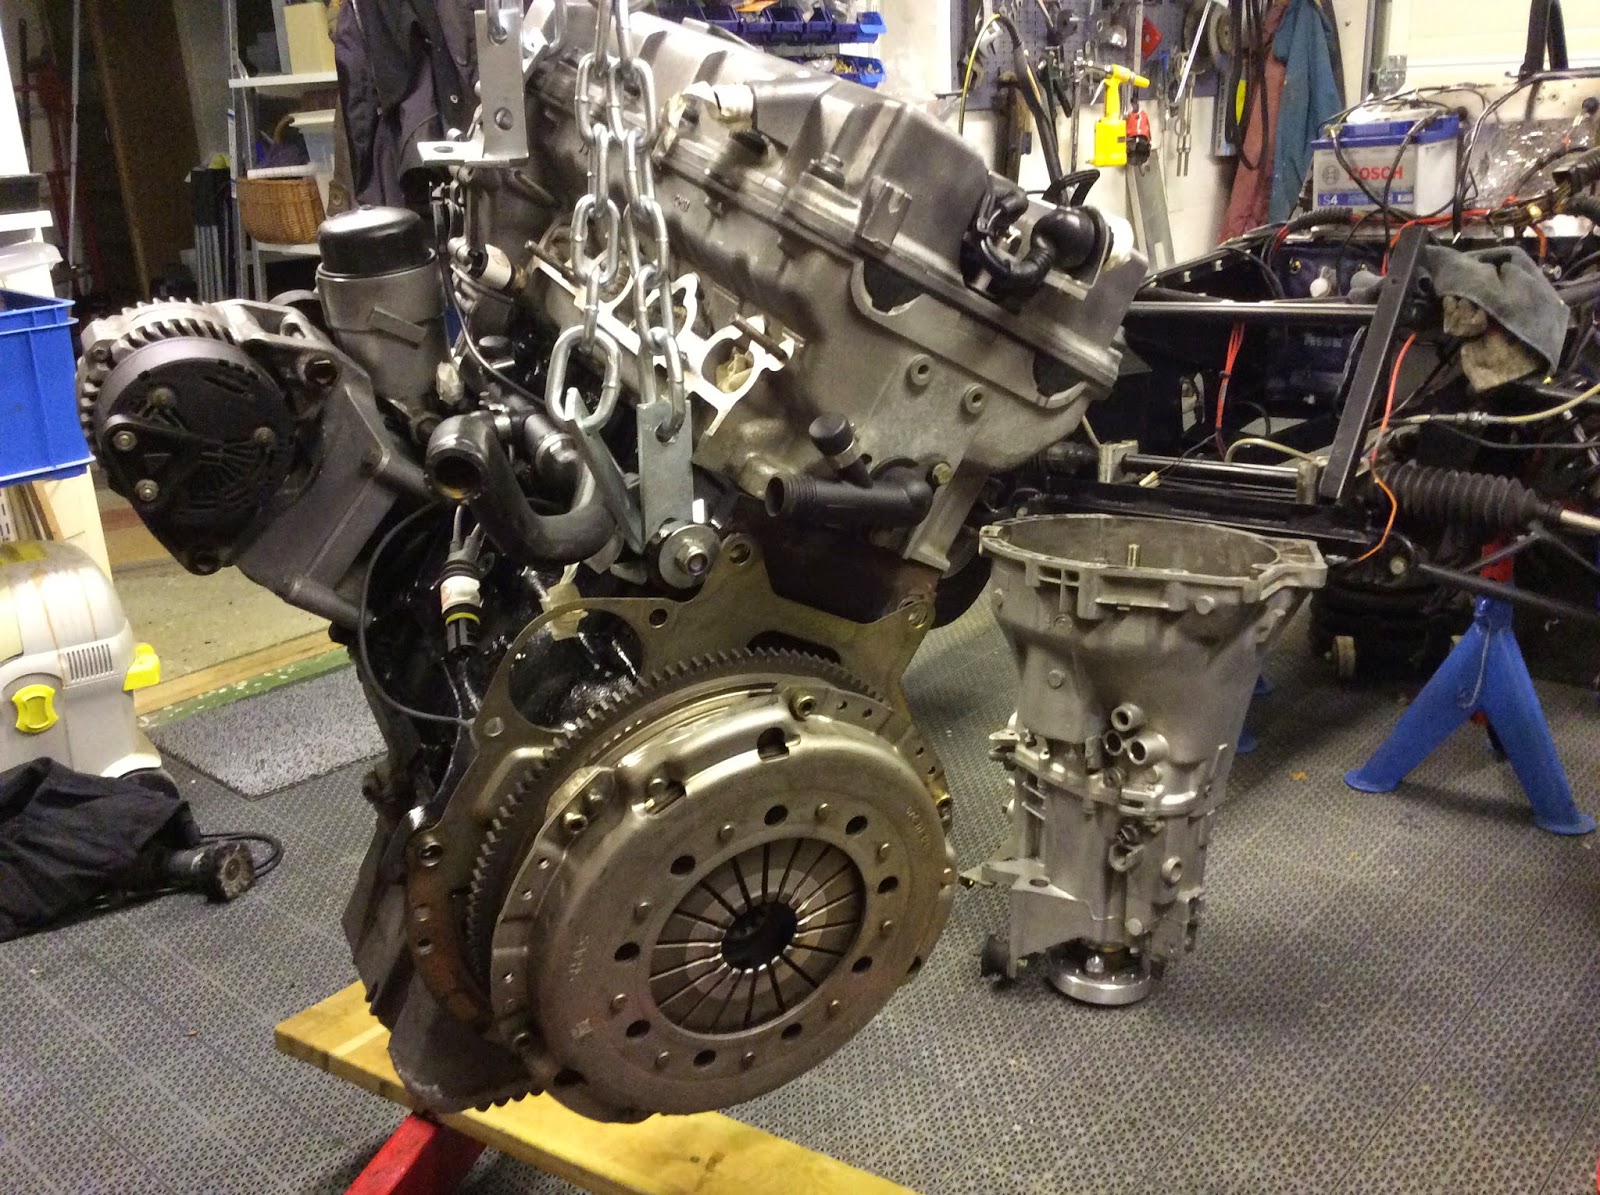
New big end bearings, ARP bolts, gaskets, throw out bearing, pilot bearing, M3 clutch plate, water pump, thermostat and oil filter. Second hand M3 flywheel and clutch pressure plate. I'm very happy it's all done. I just hope it starts eventually!
Hope the gearbox slips on without problems tomorrow ....

Well we were lucky the gearbox just slipped on like a glove. Torqued all the bolts and it's ready to go in!

For some reason the engine didn't go in quite so easy as the clutch! There are a couple of heating pipes going across the ceiling so the engine lift could go to the maximum height.

At last it's in, just a case of connecting everything.

Prop shaft connected and soon gear lever arm.

Lots of connectors to be plugged back in. Luckily most of them can only go back in one place.

This bunch of cables will be cleaned up later. New heating hoses go directly to the engine heating system leading to more efficient cab heating - hopefully.

Fuel pipes next.

Super Charger in place. Bracket at bottom center is to take the weight of the SC off the inlet manifold.


Fan belt in place.

First part of the exhaust manifold bolted in place.

Second part ...

Third and final, everything buffed to a shine.

Filled with oil and a new filter. Just the clutch still needs bleeding.

Radiator and hoses in place.

I've replaced the throttle valve switch (center) and will change the idle regulating valve next (right center)


