Steve's GKD Legend

Steve's GKD Legend
Still, On the road again!

Search This Blog

Saturday 30 March 2013

A super charged Easter weekend!

Thursday - It's been a long wait but as soon as the box arrived today it suddenly all became worth it, I received the GKD Super Charger kit!

It only took 4 days to arrive from the UK.
What's in the box - Everything that's needed. Inlet manifold, fuel rail, injectors, rising rate fuel regulator, fan belt and the Eaton M45 super charger I bought from Ebay. All put together by GKD and ready to bolt on! Peter also kindly sent me the rear boot cover I had on order.
I removed the battery and air filter assembly
Disconnected the upper inlet manifold
I had a few questions for Peter which he answered in a flash. The kit includes almost everything so the original BMW fuel lines (2) to the fuel rail are no longer needed, pipes (3 & 4) are simply shortened and plugged. The plastic box (5) containing wire harness for sensors, injectors etc. needs to be removed leaving only the harness.
Once the plugs for the injectors were disconnected and nuts to the head and front bracket were removed I carefully removed the lower manifold. It was quite a job to keep the wires organised. Some passed through the middle of the lower manifold, some were simply going to sockets and I cut and spliced two wires to the alternator and starter motor as it was easier than disconnecting them. 
I cleaned up the wiring with electrical tape. The MAF, accelerator position sensor etc. will be at the rear of the engine so they should be run accordingly.
Before bolting down the new manifold I attached the accelerator housing which was removed from the original upper inlet manifold. Also included in the kit is a new bracket which attaches the Eaton to the engine. It's adjustable so the weight of the manifold can be taken off the inlet bolts.  
The new setup is actually lower than the conventional inlet manifold, so no problem getting the bonnet on! Unfortunately the space at the rear of the engine is very tight. I've bought a Varley Red Top 25 which is less than half the size of the standard battery. That's make much more space available, hopefully enough to incorporate the MAF and airfilter.

Friday - .... Finished late last night and continued today, connecting the fuel lines and temporarily connecting  the battery. The earth strap from the old battery to the engine was a little short to reach the Red Top so I'll get one once the shops are open. 

I then test fired it up and, yupp it started but it didn't run as I expected. Quite rough and stalling with no throttle. Peter suggested I checked the manifold bolts were tight enough as air could be seeping in. The more I tightened the better it became but still not perfect. I neglected to buy a new manifold gasket so I'll replace it and check again.

There is also a necessity to replace the belt tensioner and also add another pulley to keep the belt away from the radiator hose housing. 
Sunday - Neil came around this morning for 8k run (pre Amsterdam marathon training) and then we got on with some last jobs before taking it for a test spin. Put fan belt in place, had to make a small adjustment to one of the pulleys to get it in line with the belt, easily done by adding or removing a washer or two.
Kept nicely away from the radiator hose
Another small job was to make up a bracket to hold the dip stick tube in place. I made it out of 1mm stainless steel but it should really be 2mm. Still it's an okay temporary solution.
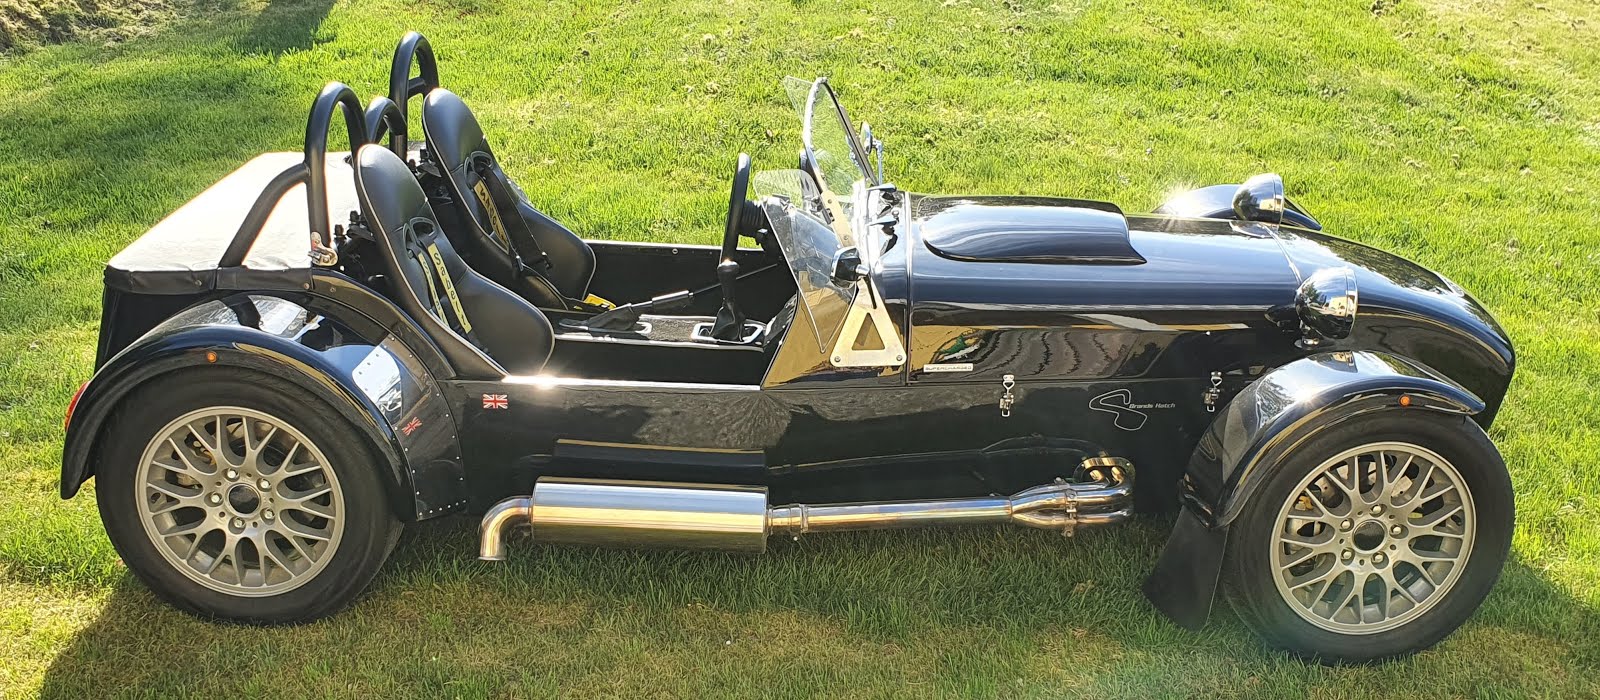
The whole engine looks really great now. The new coil over plugs and the SC are going to transform it.

Time to get it out for a test drive ...

Warmed up the engine and topped up the radiator as well as added some STP Oil Treatment. A bit slippery getting it out of the garage but with a little push ...
Then it was time for the open road! The sound has changed, deeper than before but I don't think it's so loud now. It'll be interesting to test decibels before Brands Hatch track day. Once out on a clear length of straight road I floored it. In first I had to change almost immediately to second. In second gear it was spinning the tyres so I had to ease off a little. Both Neil and I were gob smacked how much power it has. It had power before but it's now at a whole new level. I'd like to put it through its paces on a wider open road like the motor way and see what she can really do but that has to wait a week or so until everything on the car is finished.
The first supercharged 0-100km/h. Didn't go so well but with some more timely gear changes it'll improve. As you can see it goes well up into the red - the speed limit problem is now solved!

 More news coming soon.

Sunday 24 March 2013

First time Fibreglass

Decided it was time to start on the glove box but I've never worked with fibreglass before. Friend Jim gave me quite a few tips, the main one being to do a test first before getting on with the real thing. Looked around the garage for something I could use as a test mould and found one of Anette's Tupperware bowls (she won't notice!). 


  • Stage 1. Painted two coats of release agent on the bowel with about 3 hours in between. 
  • Stage 2. Rubbed in two coats of wax with 3 hours in between and polished to a shine.

Anette would have been impressed with the shine!
  • Stage 3. Painted a layer of white gelcoat over it and waited about 4 hours until it was sticky.
  • Stage 4. Cut up a load of fibreglass matting and made up a batch of polyester resin. On a rounded surface like this it seemed easier to have small pieces of matting. I just carried on painting on the matting, round and round making sure there were no bubbles. I did around three layers. The bottom of the bowl was quite complicated so I didn't bother trying to get it perfect. It was just the principle that was important.  

Left it over night and then carefully separated the fibreglass from the bowl.

This is my very first attempt, not beautiful but it proved the process worked. Now on to the real thing!

I bought some purple polystyrene which is much more dense than the white. Glued two bits together to get the right thickness. Made a rough outline of the space behind the dashboard and marked it onto the polystyrene. 
Used a hobby knife to gradually slice out the desired shape. 

Once the shape was right I covered it in a layer of polyfiller. Once dry I sanded it down and then filled again and sanded down again. I Made one booboo spraying it with hobby paint thinking that it would seal the whole thing before using the release agent. Problem was the hobby paint ate into the parts not covered in filler which meant I had to start the whole process with filling again. Now I'm at the stage where I painted on a layer of water based paint which I'll sand and then repaint until I'm happy with the surface. 

Some more rubbing and filling required as well as carefully sanding with high grade paper. once it's done it'll be time to use release agent, wax and start  fibre glassing- should be fun.

The console is also on its way. I've decided to make the sides in aluminium because stainless steel at the same thickness is really difficult to work with even though it's only 1 mm thick. Just cutting the holes for the heater ducts will be too much work.

I intend to cover the front and sides in the same material as the gear shift gaiter. Hopefully I can get the join between the carpet and console to look good.


Sunday 3 March 2013

Moving forward slowly.

I was lucky enough to have a week in Dubai and took with me the EWS and the only key I was given when I bought the donor. There are loads of street side shops that offer key cutting and chipping so I had another key cut. It took about 15 minutes while I waited and cost 200 dirham, about £35!
First Industrial Street, Sharjah (BMW Road). The new one, on the right looks good and works great.

Weather has been crap and motivation has been low but I finished another small job that I needed to do. The rear soft top brackets were prototypes so I made new ones.
The original bracket on the left, a bit big and clumsy and attached between the roll bar and side panel. Once I had the side panel filled and welded there was no space left for the bracket. I decided on a solution where the bracket was attached directly to the roll bar. First prototype on the right, not good as it rotated.
From the second prototype I made two new brackets in stainless steel and buffed them up. The hole for the soft top supports is in the same position as the original bracket so the rotation point is the same.
The soft top supports still fold down and rest on the rear panel but I'd like to find a solution where they can quickly be removed or attached and stored so they can't be seen.

I realised there are only 9 weeks left until the Stoneleigh kit car show (6th May) and Brands Hatch track day (8th May) so I really need to get going with my list of things to do. Ideally I'd like to be ready much earlier as spring can be awesome for trips out in the country. Hopefully Peter at GKD will send me the Super Charger kit next week so I can get it installed and tested. Then spend a few weeks to fix mainly the console and glove box and then get everything reassembled.