Steve's GKD Legend

Steve's GKD Legend
Still, On the road again!

Search This Blog

Sunday 26 June 2011

Midsummer weekend

It was midsummer in Sweden so some drinking and good eating was done but funnily enough I still had some time for a few jobs on the car! The steering wheel is now attached with a new boss (third time lucky!) and it actually works with the horn too. In the end it was a very simple solution with a BMW spring loaded brass connector and a boss from Rally Design in the UK partnr: BM25 which has a brass ring on the inside so when the steering wheel turns the brass connector and ring are always in contact. 

The small spring loaded brass connector
Looks quite nice with everything attached


I fixed the rear number plate light above the number plate as under would have meant drilling and bolting through to where the tank is situated and it's too tight behind there. I checked out the illumination, seems okay just hope it passes the test.

This could work couldn't it?

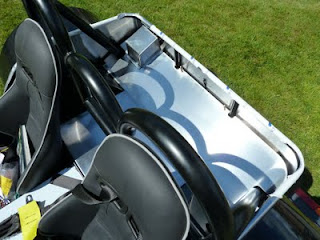
The SFRO test has been postponed until the 6th of July but I still have to get loads done. I fixed the rear boot space. It still needs edging and perhaps a carpet but that's not required for the test.

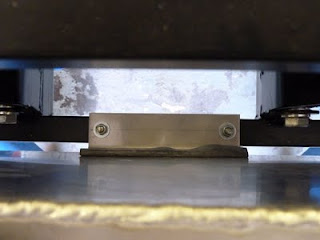
Boot floor held in place by Cleco fasteners just in case the test guy needs to look at the fuel tank

As there were a couple of nice sunny day I fixed the front indicators. Also (with help) I managed to sort out some of the wiring so hazards, indicators, sidelights, brake lights and reversing light all work. Just a small problem with headlights, low & beam and the repeaters left. I can't fix the dashboard until all electrics are sorted out.

The grill hole is slightly off horizontal so I'll need to make some adjustments - later!

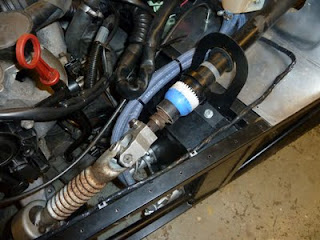
The only main mechanical job I need to finish is the upper steering bracket. Peter kindly sent me the correct BMW housing although the one I ordered from BMW was also supposed to be the correct one. All that is left is to make up a new bracket to bolt to the chassis as the one I have is a little too short.

The correct housing on the right

Bending the bonnet tomorrow ...
Sunday 19 June 2011

On the way to SFRO

I decided to book the second SFRO test for the 29th of June so it would leave me the rest of the summer to put things right as well as get it through the usual bilbesiktning (MOT) so I can at least drive it legally before the summer ends - at least that is the plan! With that in mind I got down to ticking a few things off the to-do list. I finished both rear wings and bolted on lights and number plate bracket.
Not sure how I should fix the number plate light, under, over or either side!

Then came the driver's seat with adjustable bracket. As it's quite difficult to keep the slide rails completely parallel I made a template out of wood and used that for drilling through the seat and floor pan.

Not sure what to do with the passenger side as the exhaust bracket bolts make the floor uneven. I don't intend to have it adjustable so may have to remove some of the underside of the seat where the bolt heads go.

4 point seat belt also installed. It'll be much safer when parts drop off at high speed - perhaps that comment is tempting fate!

Another quick job (thanks for the tip James) looped and riveted the fuel overflow

One job I didn't really look forward to was fixing the cycle wings. Bolted the brackets in place first (upper ball joint) and drilled and bolted the side of the bracket. I made a template out of a coat hanger to copy the angle of the wings

M8 bolt through the side

The support rods where a little far from the tyre so a metal rod bent them to the right position

I used metal bars and the metal rod to gradually bend the supports to the right angle and position

Both sides bent and drilled

Used a gradient drill to make 18mm holes for the indicator.

Repeater indicator in place, maybe a little too close to the tyre. Have to sort the cabling out next.

Then today I started on the number one job I have avoided for months, cutting a hole in the dashboard to accommodate the BMW instrument cluster  (ICL). I started by marking the recommended 40mm up from the bottom of the dash and made the first cut. Then it was a case of using the Dremel to gradually sand away small amounts, checking the ICL and repeating that fifty times or more. A good tip, have the vacuum cleaner on and next to the Dremel.
The Dremel slipped a couple of times so I'll have to touch up the fibreglass. The fibre glassing isn't the best in the world anyway so it has no be spray painted anyway.

The underside of the dash also had to be trimmed to allow the steering wheel surround to fit into it. I may have a problem with the SFRO test if they decide that the instruments are not clearly seen behind the steering wheel. Perhaps a bigger steering wheel may help (just to get through the test :-)

The ICL has to be fixed in place with foam but I'll leave that until later.

Saturday was a great day, the sun wash shining and I took a couple of tours around the streets to see how she felt. The brakes are great, the suspension needs some adjustment but generally she rolled perfectly over the bumps, gear changes felt good and the sound - the sounds was awesome!

Sunday 12 June 2011

Back to the front

A few things have been done since the great escape. I decided instead of doing jobs all over the car, I would try and concentrate on getting the rear done and then move forward to the front. Got one of the rear panels bolted on. I used a 3.2mm drill at 10cm intervals around the inside rim of the wing and the used the Cleco fasteners to keep it tight to the body. Then took out one at a time and re-drilled to the bolt size as well as inserting the rubber sealing band in between wing and body.   
Had to make sure rivet holes etc were covered by the wing as well as the wheel being central.

Once in place I bolted on the brake light/indicator cluster. Had the car horizonatal so it was straight forward to get the light straight.

Rear light cluster in place.

The cluster wiring, I think I'll put this in a rubber tube so it's a bit more robust.

Then I got the riveter out and finished off both the driver and passenger sides. If I was doing this job from the start I'd buy an air driven riveter to save back ache!

The picked up the tank bracket and bolted that in place with a strip of bike inner tube to hopefully stop any vibration (this is looking done behind the tank)

When I did the test drive last week the accelorator got stuck so I decided to redo the cable and connection to the pedal as well as trim off the connection to the manifold. I drilled up through the hole in the pedal so it would come through the bulkhead at exactly the right position instead of where I had it, which made the cable bend at the wrong angle. I got the angle grinder out and removed the top part of the cable bracket as the bonnet would have hit it.

Inset is how it was.

I also found out that the mileage and trip meters are back lit and the bulb had gone that's why I could see them before. I removed a bulb from somewhere else which wasn't needed and bobs yer uncle there it was!

The wood looks good but I don't think I'll use it in the finished car!

Friday 3 June 2011

Freeeedoooom!

The modified steering arm arrived from Peter yesterday and Neil and I spend this morning attaching it. The upper bracket doesn't look right and I'm sure will need modifying to get it SFRO approved but the lower bracket is doing a great job.
The steering arm, plug welds in three positions around the circumference of the joints - SFRO should be happy now!

The lower bracket - room for some adjustment but probably not needed.

The upper bracket (round, black top right) with the BMW steering arm going through it but how should it be attached - Help needed! 

Once the steering was installed it was time .......


I need a lesson in how to drive!


The first trip up the road and back was a pure exhilaration. I had to hold on to a few bits and pieces as the dashboard isn't installed yet but apart from that it behaved beautifully and sounded fantastic! The response through the gears was unbelievable (only got to third)! Another quick video - listen out for the sound of something hitting metal at high speed.


I don't think it was the neighbour taking pot shots - mind you!

... then it was back to getting on with the build and trying to fix the dashboard. The gradient drill worked very well drilling out the holes for the buttons.

Looks pretty good, I'm not sure if they have to be in any particular order.

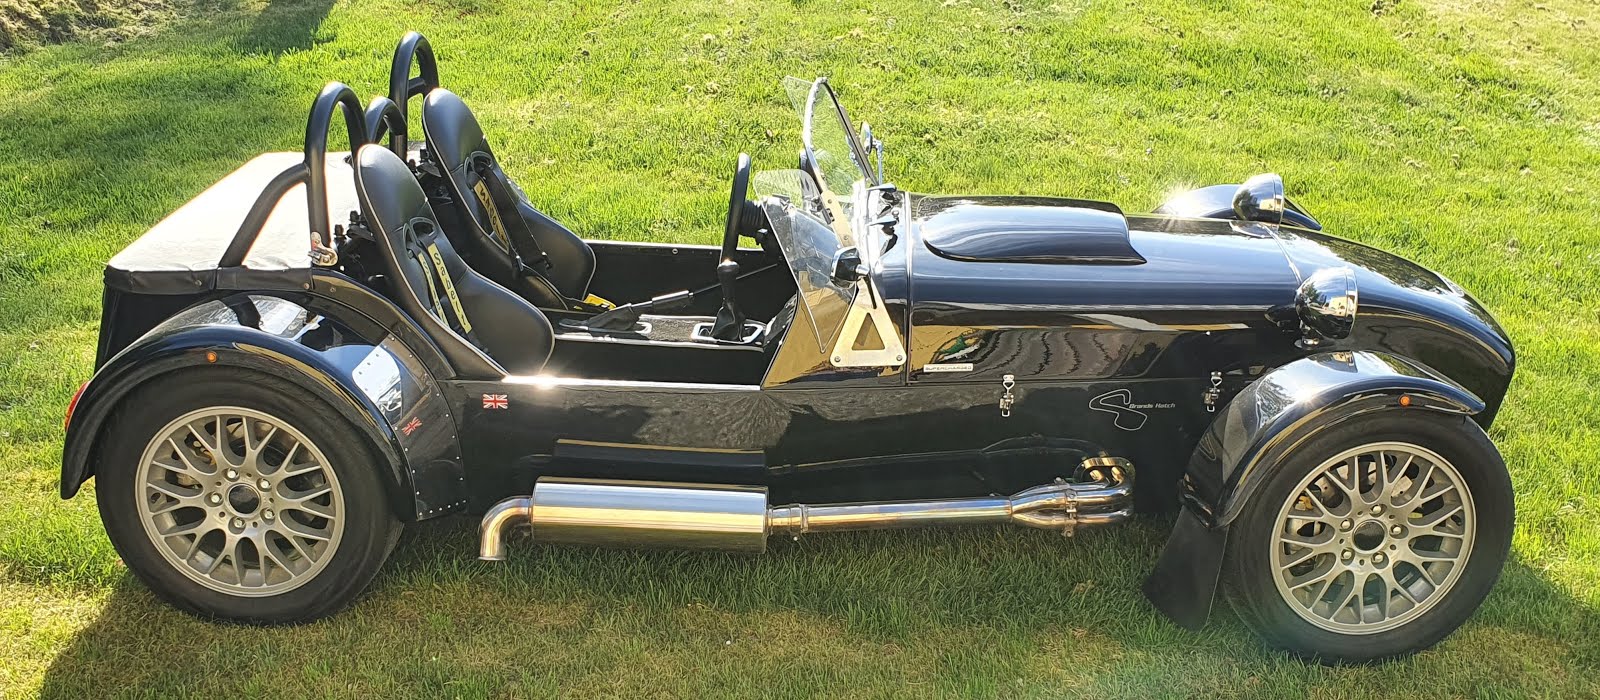
One more update photo as I'm really happy with how it's going!

Small sump leak but I think it's a bolt that's too long, a little smoke from the exhaust joint but that was just oil I used to help put it on.